Customize Student Caring
A user with the role of company admin (or higher) has the ability to customize the text of Student Caring emails, which are the automatic communications sent by the platform to users.
To customize the text of Student Caring, simply access the section "Company Management > Setup > Student Caring".
The visible events are those active in the company, and the user can remove them or add new ones based on their needs. All details about the types of Student Caring are available here.
To modify an event, just click on the three dots in the "Actions" column next to the Student Caring you wish to modify and select "Edit Event".
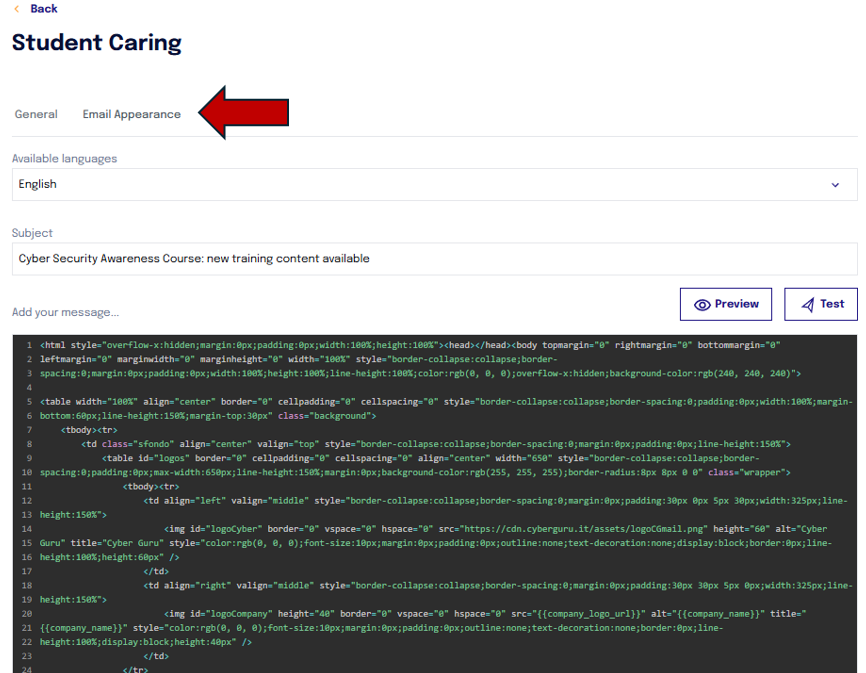
By clicking on the "Email Appearance" option, you will access the HTML content of the communication, which can be customized.
IMPORTANT NOTE: In the case of the "First License Association" or "First Awareness or Channel Content" email, there is a table containing the placeholder {{user_credentials}}.
This placeholder is automatically populated with the temporary credentials for the new user. In the case of SSO, it is replaced by fixed text, removing the credentials.
NOTE: It is recommended to copy the default text into an online HTML editor to make changes independently, then copy the final version back into the Cyber Guru platform.
Preview of Customized Content
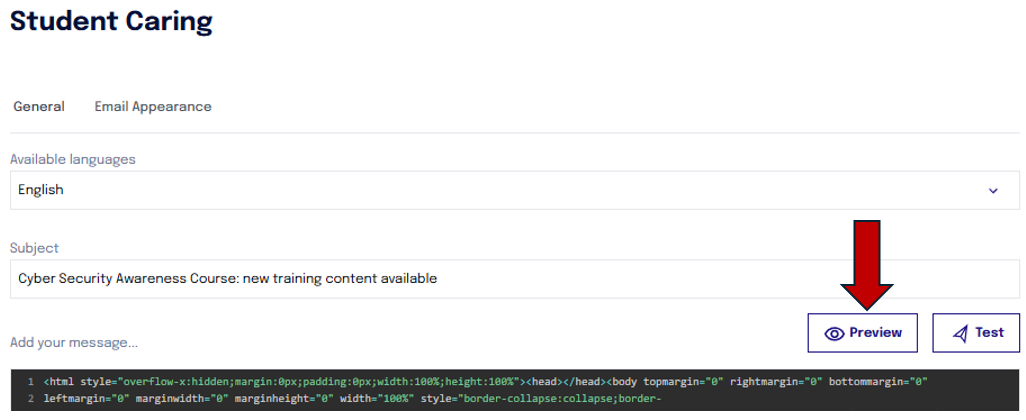
To view a preview of the modified text, simply click the "Preview" button.
Test the New Student Caring
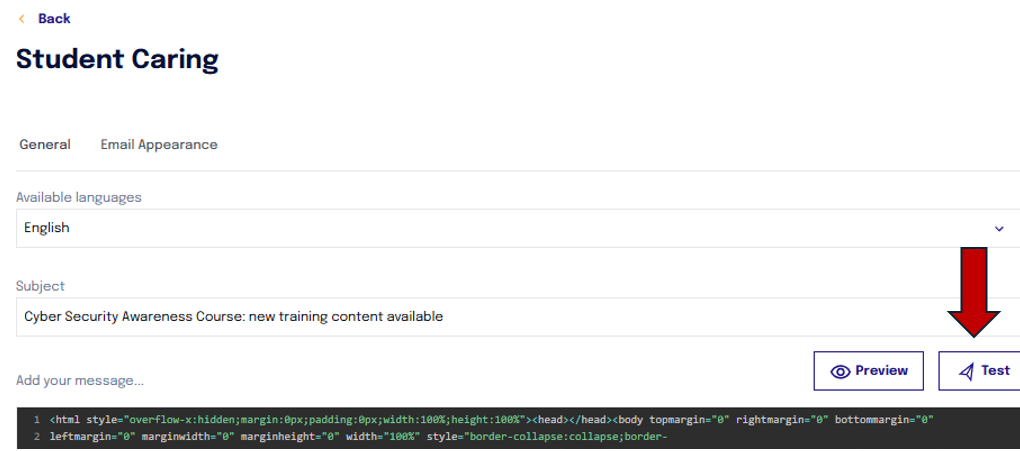
Once changes have been made to the Student Caring and the new text has been saved, it will be possible to test it by sending it to any email address of your choice.
If the new version is not saved first, the test will be conducted on the previous content. Therefore, it is important to save the changes before proceeding with the test to ensure that the updated version of the text is verified.
Available Placeholders
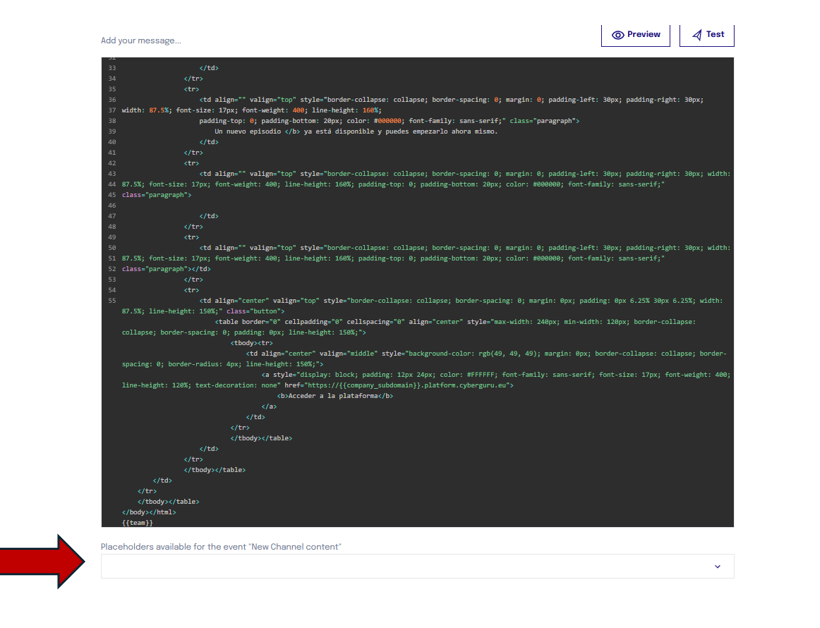
If you want to insert placeholders within the Student Caring, you can choose from those available in the dropdown menu below.
By clicking on one of the placeholders, a green banner will appear confirming that the tag has been copied. You can then paste it in the desired location within the Student Caring.


