
Google workspace SSO
1. Introduction
Google Workspace SSO lets your organization use your Google account details to sign into other business applications. This means your users log in once using their Google Workspace credentials and are automatically signed in to approved apps. In this guide, we explain how to set up Google Workspace as an Identity Provider (IdP) to access Cyber Guru platform.
2. What You Need Before You Begin
An administrator account for Google Workspace (the account with the “Admin” role)
Access to your Google Admin Console (normally at https://admin.google.com)
Availability of the values for the following claims:
username
firstName
lastName
email
Get the IdP provider metadata as a URL reachable over internet
Identify users to be authorized to access the application (suitable groups would be better)
If possible, create a user for Cyber Guru for testing purposes
3. Step-by-Step Instructions
3.1. Sign Into the Google Admin Console
Open your web browser and go to https://admin.google.com.
Sign in using your administrator email address and password.
3.2. Locate the SAML SSO Settings and send IdP Metadata
Depending on your Google Admin Console layout, you’ll find SSO settings in one of two main places. Try the following:
Option A: From the Homepage
In the Admin Console homepage
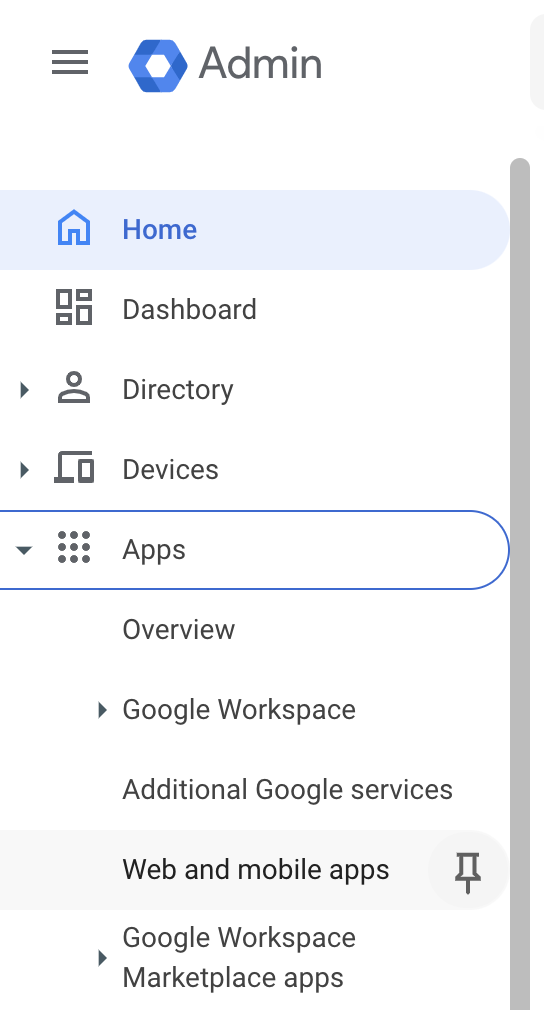
Look for “Apps” (it might be represented as an icon or listed in the menu) and click it.
Next, click on “Web and mobile apps.” This is where you manage SAML apps.
Option B: Using the Security Menu
If you see “Security” on the homepage, click that.
Under “Security,” look for “Set up single sign-on (SSO) for SAML applications.” (If you do not see “Security,” click “Show More” or use the search bar at the top of the Admin Console to search “SSO”).
Option used in this document is n.1
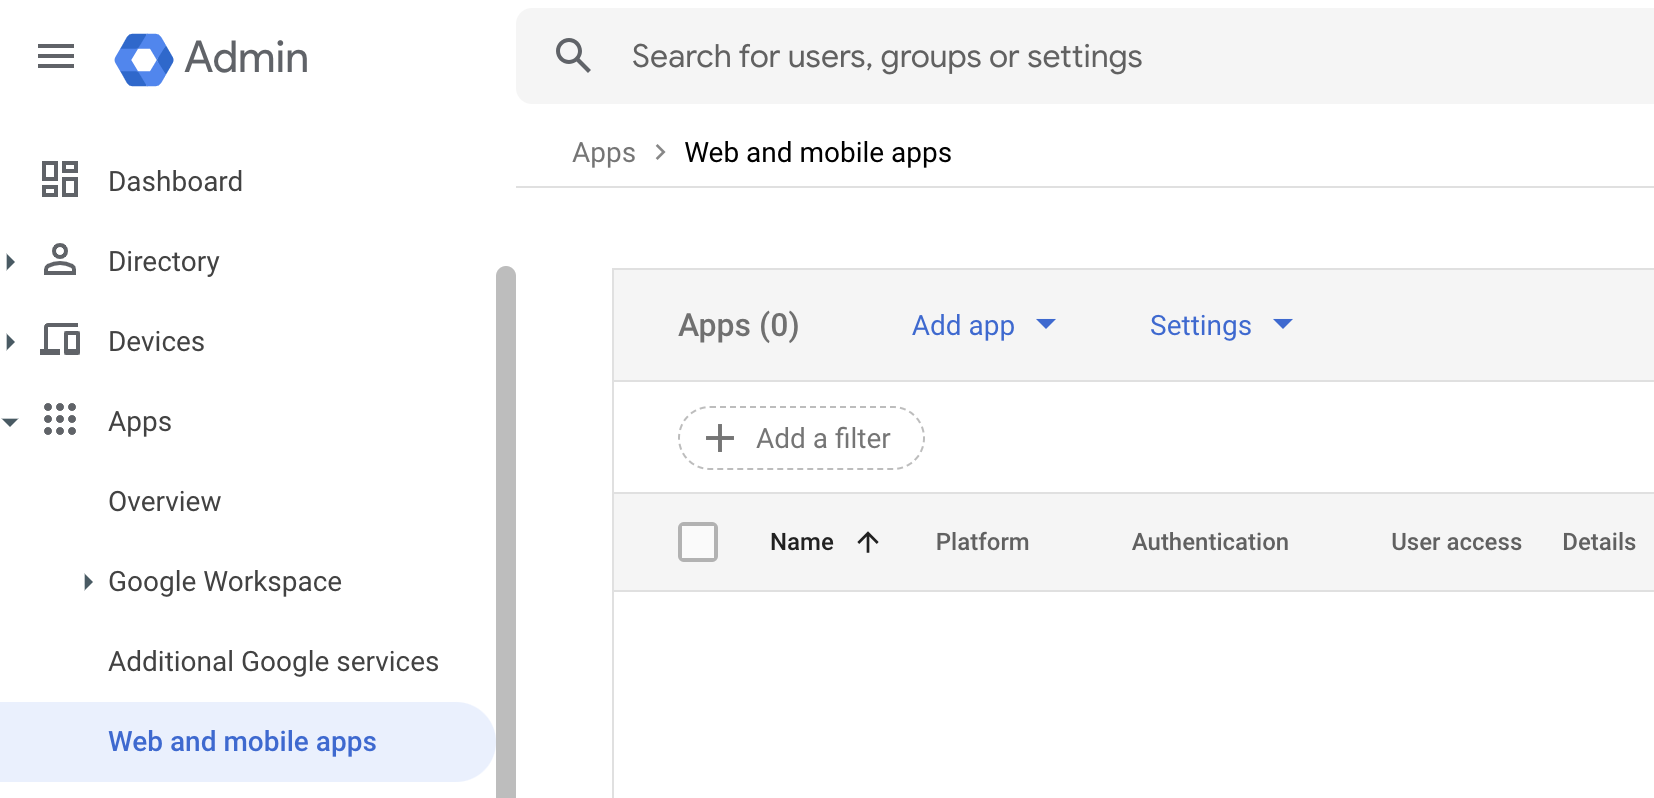
On the left menu select “Apps” and then “Web and mobile apps”
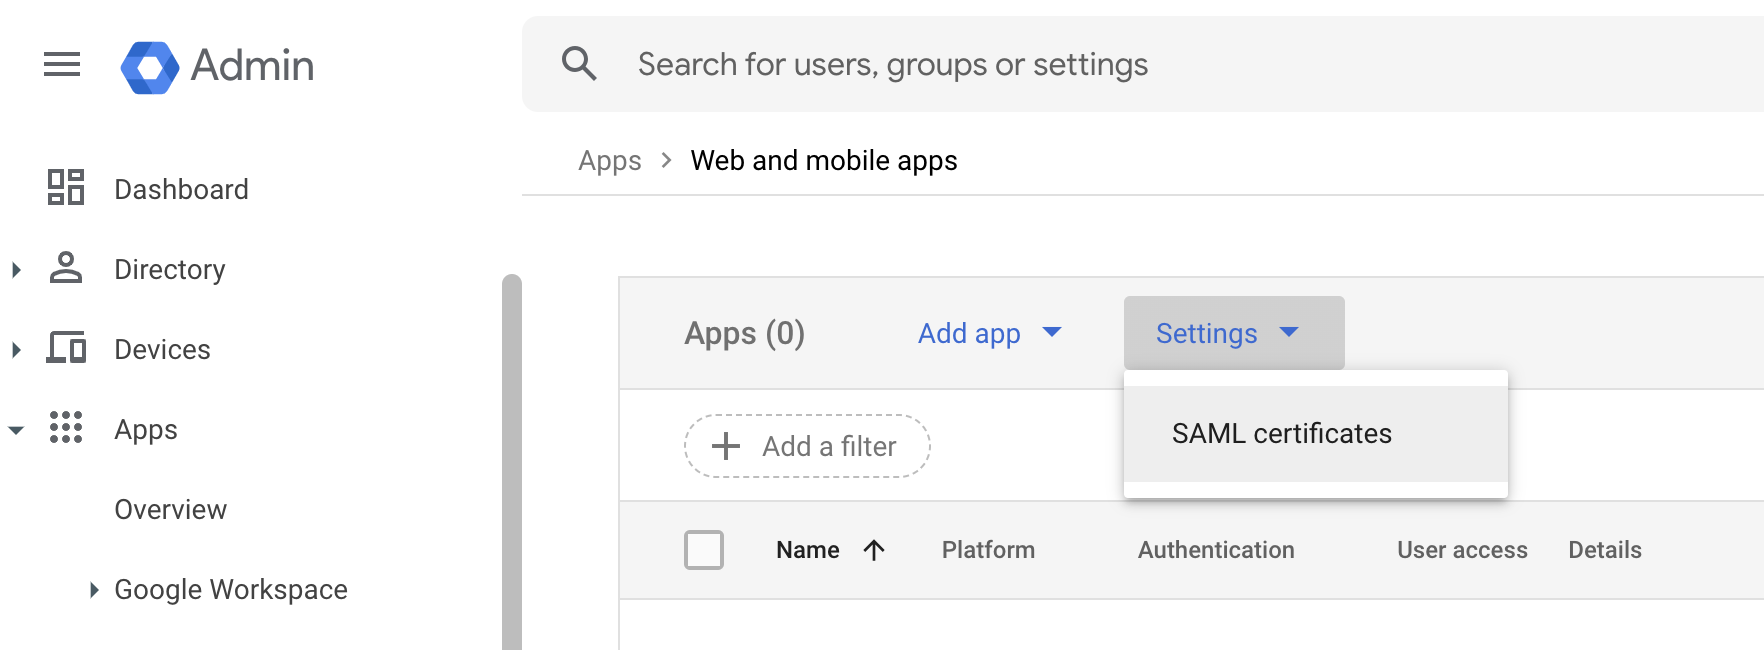
Select “Settings” -> “SAML certificates”
You will get a page with Google Identity Provider details.
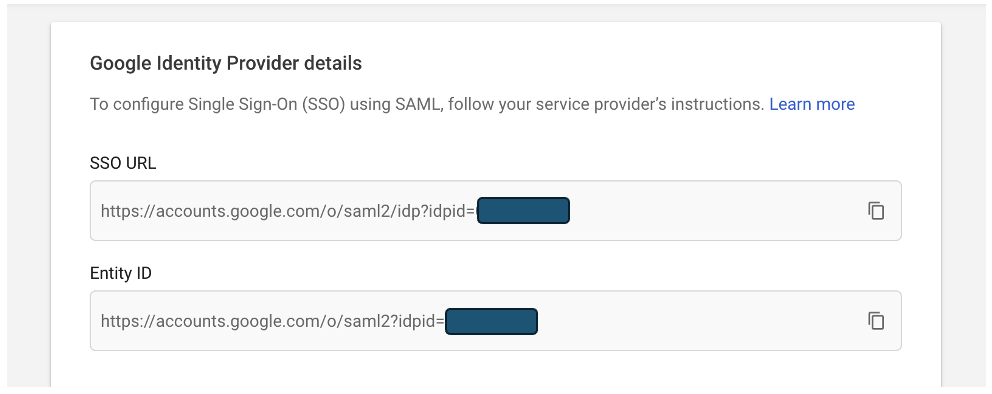
Go to the bottom of the page
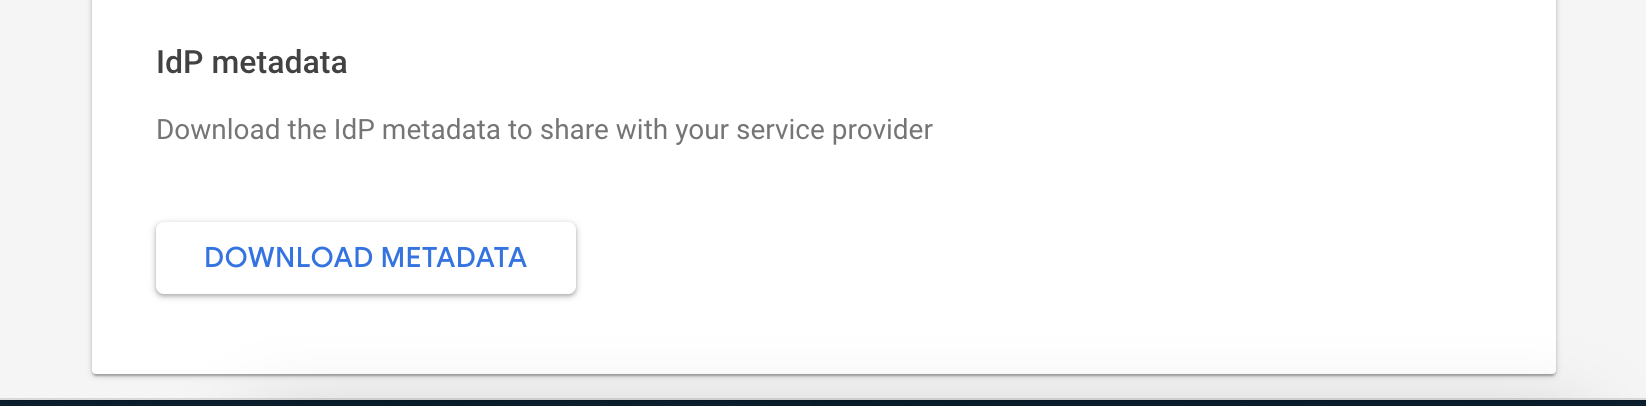
Click “DOWNLOAD METADATA”
Send the GoogleIDPMetadata.xml file to Cyber Guru. As soon as Cyber Guru complete the configuration at its side , the SP Metadata xml file will be sent to the customer.
3.3. Add a New SAML App
Return to the main menu
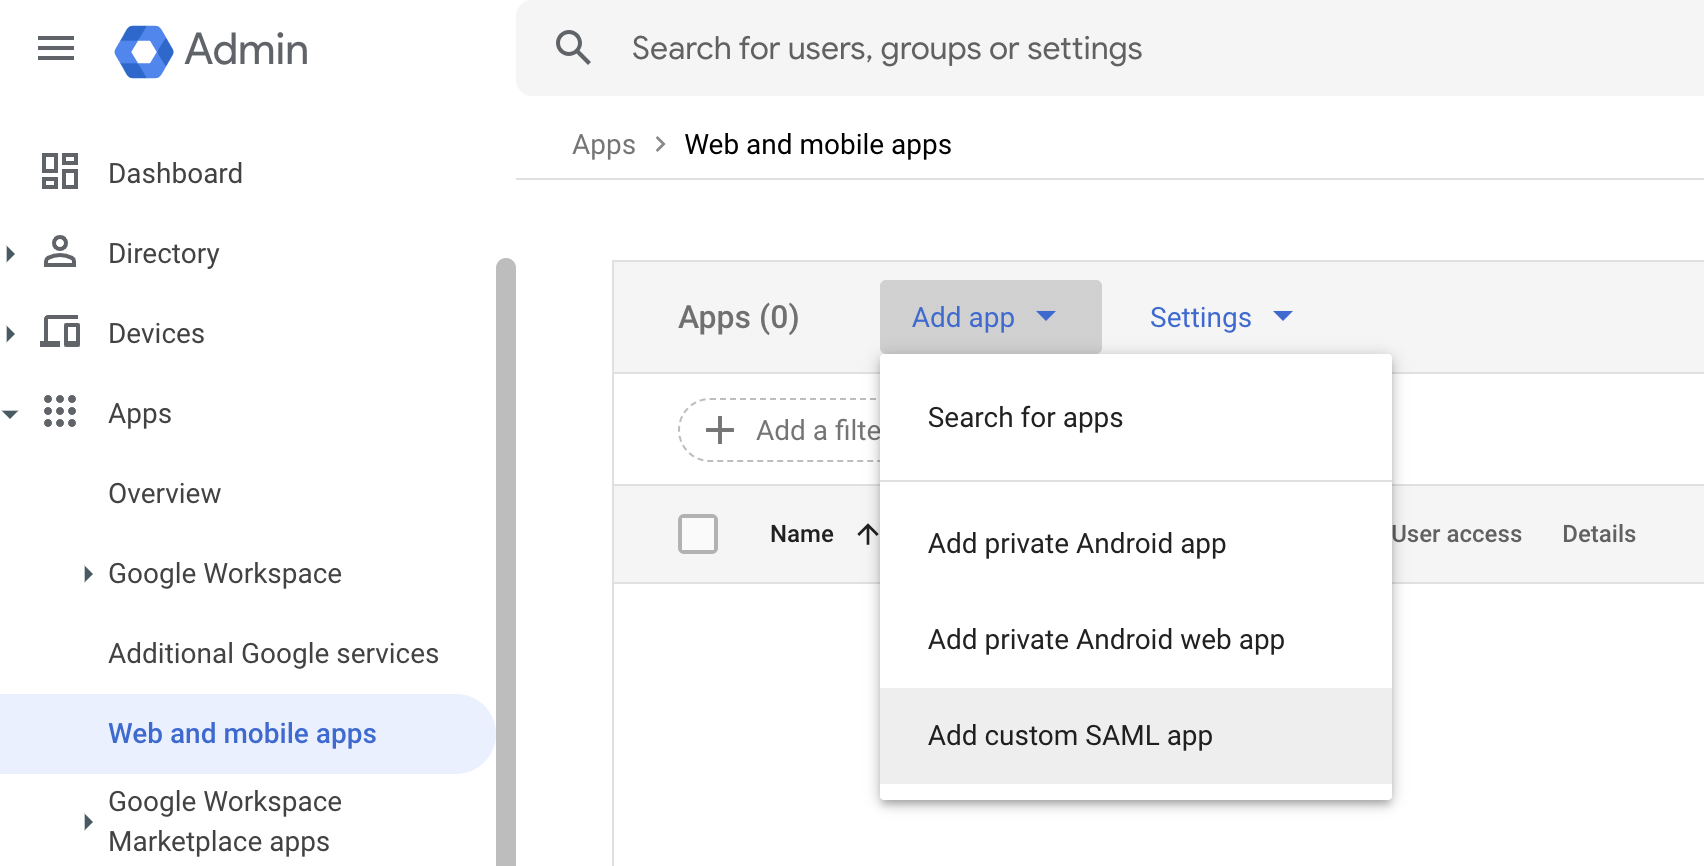
Select “Apps” -> “web and mobile apps”
Then on the right pane select “Add app” -> “Add custom SAML app”
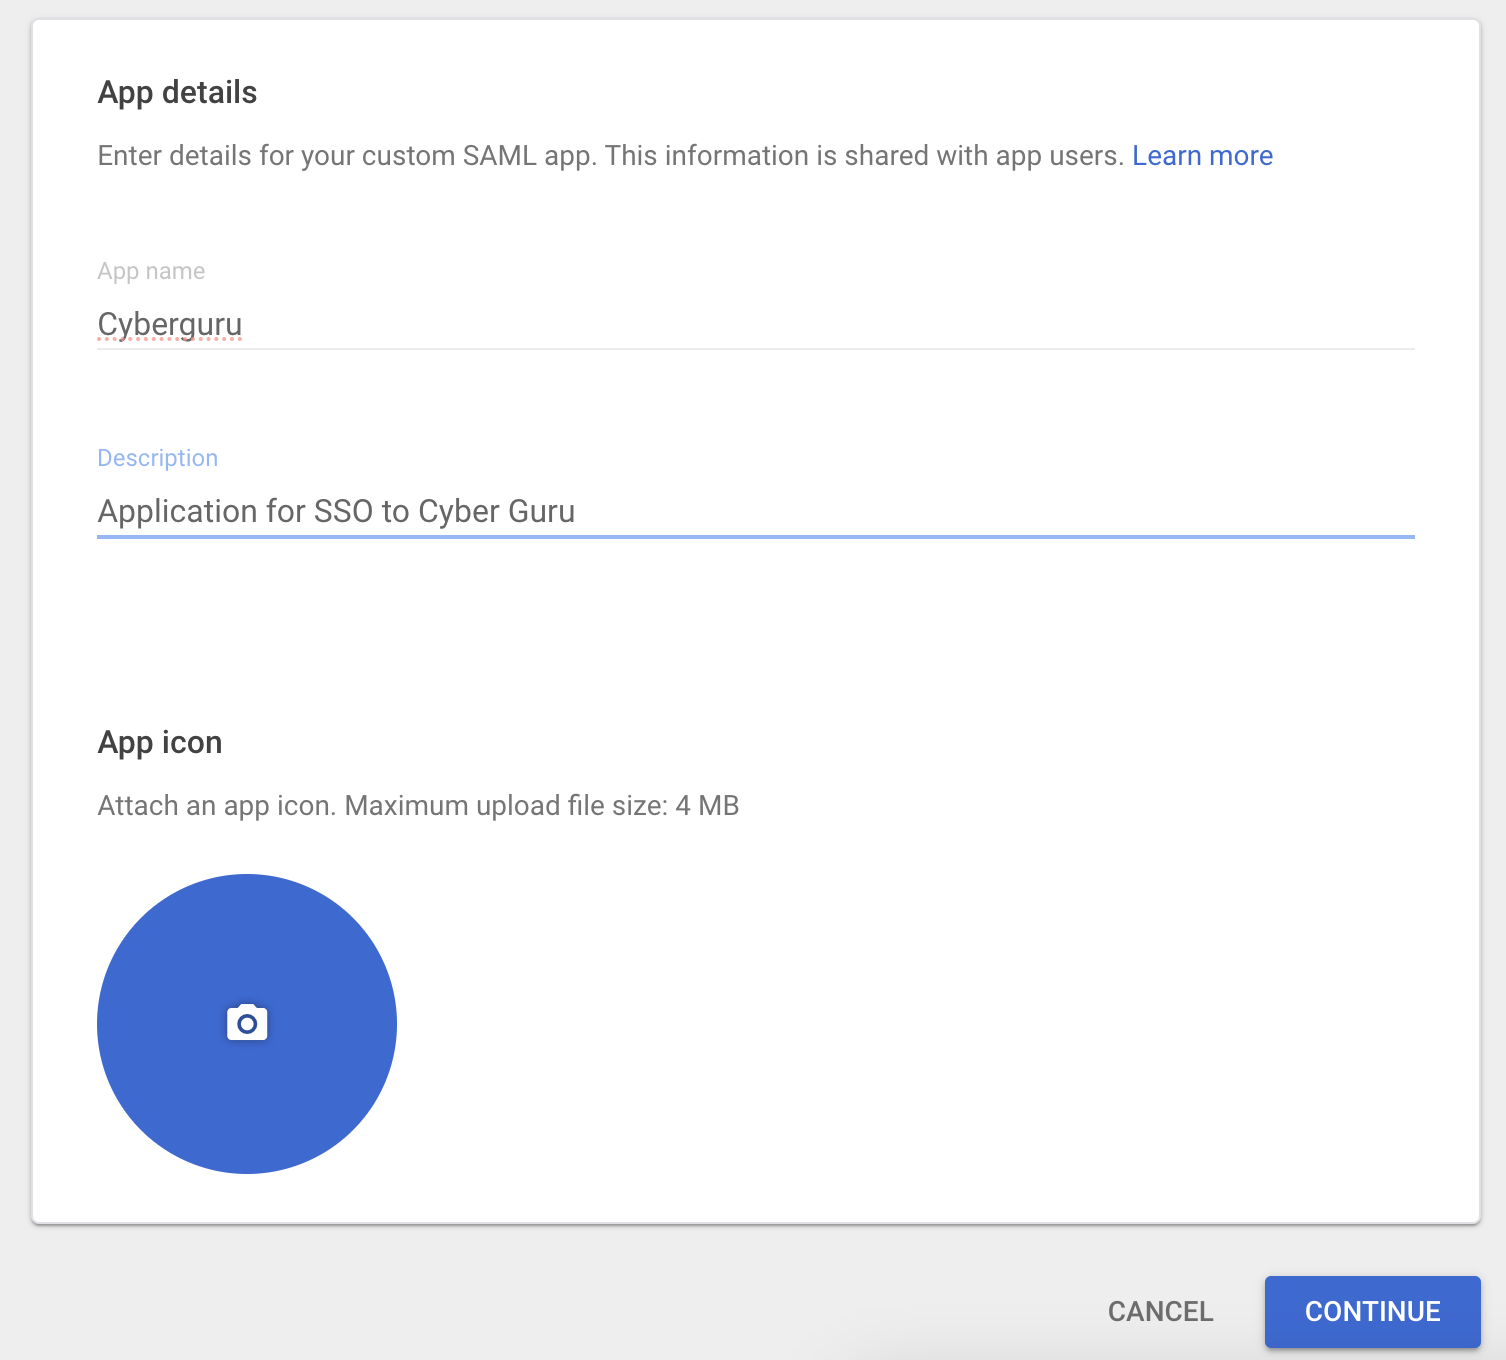
Fill the “app name” and “Description and click “Continue”
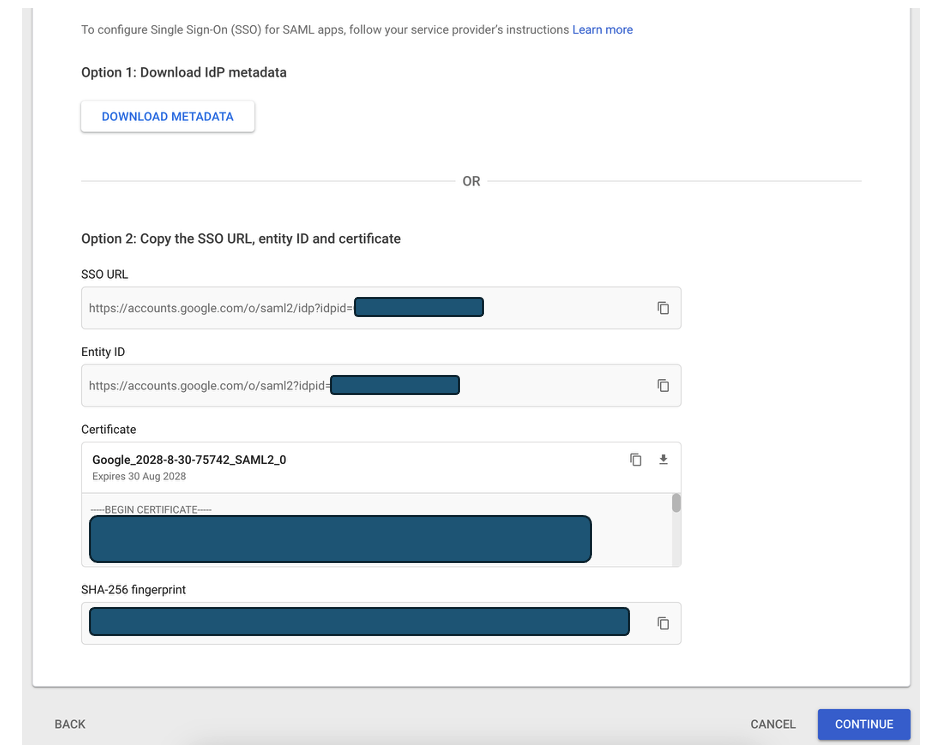
These are the IdP metadata. You already sent these data in the previous steps.
Click “Continue”.
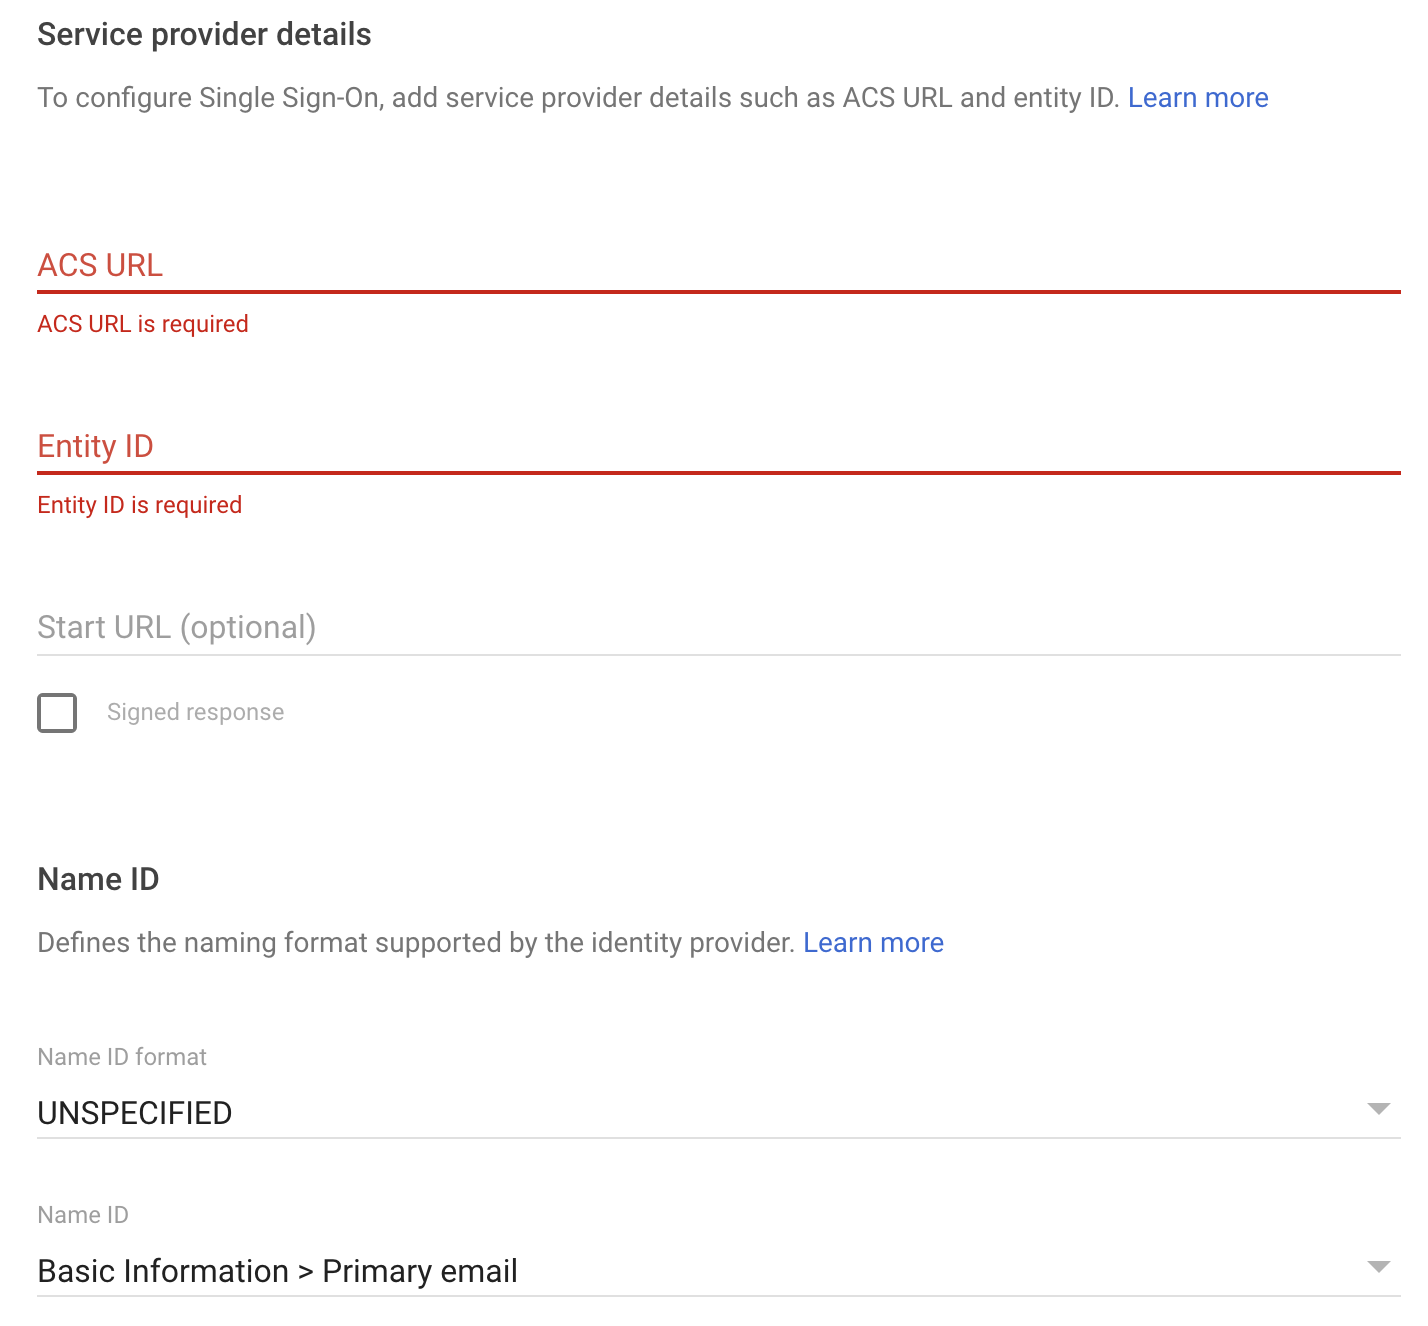
The value for the red fields (ACS URL and Entity ID) are in the SP metadata file sent from Cyber Guru. Here below the excerpts of the xml file where data are located:
ACS URL
<md:AssertionConsumerService Binding="urn:oasis:names:tc:SAML:2.0:bindings:HTTP-POST" Location="https://login.stage.cyberguru.dev/realms/techcorpgoo/broker/saml/endpoint" isDefault="true" index="1"/>Entity ID
<md:EntityDescriptor xmlns="urn:oasis:names:tc:SAML:2.0:metadata" xmlns:md="urn:oasis:names:tc:SAML:2.0:metadata" xmlns:saml="urn:oasis:names:tc:SAML:2.0:assertion" xmlns:ds="http://www.w3.org/2000/09/xmldsig#" entityID="https://login.stage.cyberguru.dev/realms/techcorpgoo" ID="ID_dcdf9592-8351-4344-936c-5fc195636230">Fill the form with ACS URL and Entity ID and change “Name ID format” to “TRANSIENT”
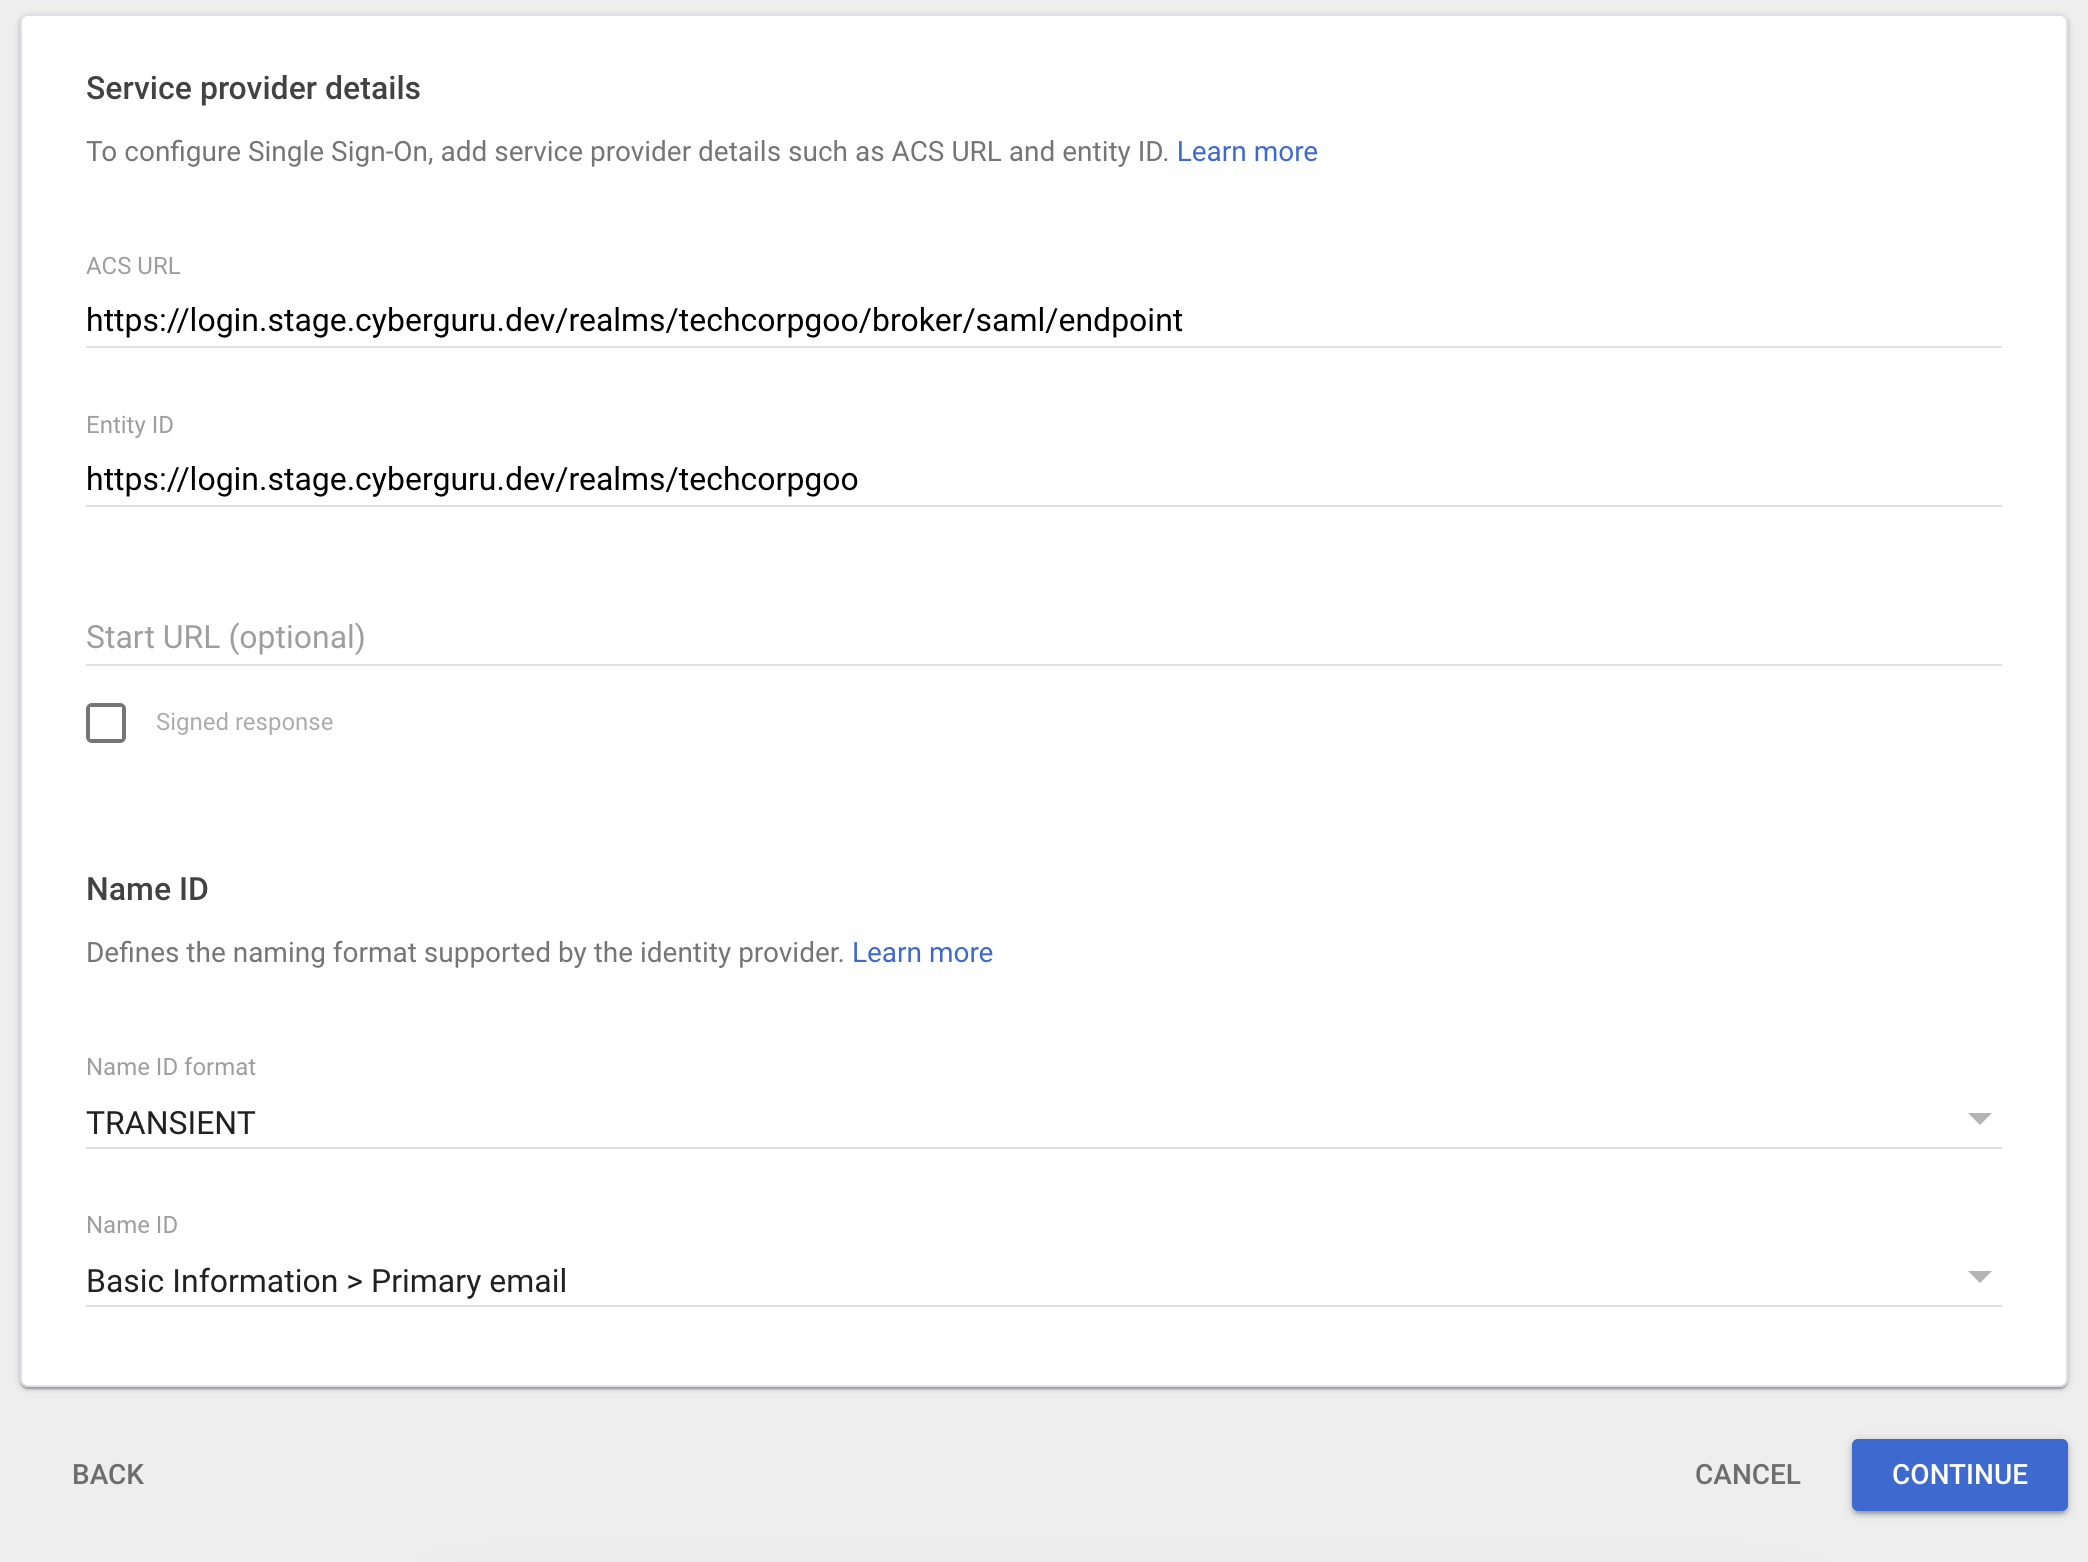
Click "Continue"

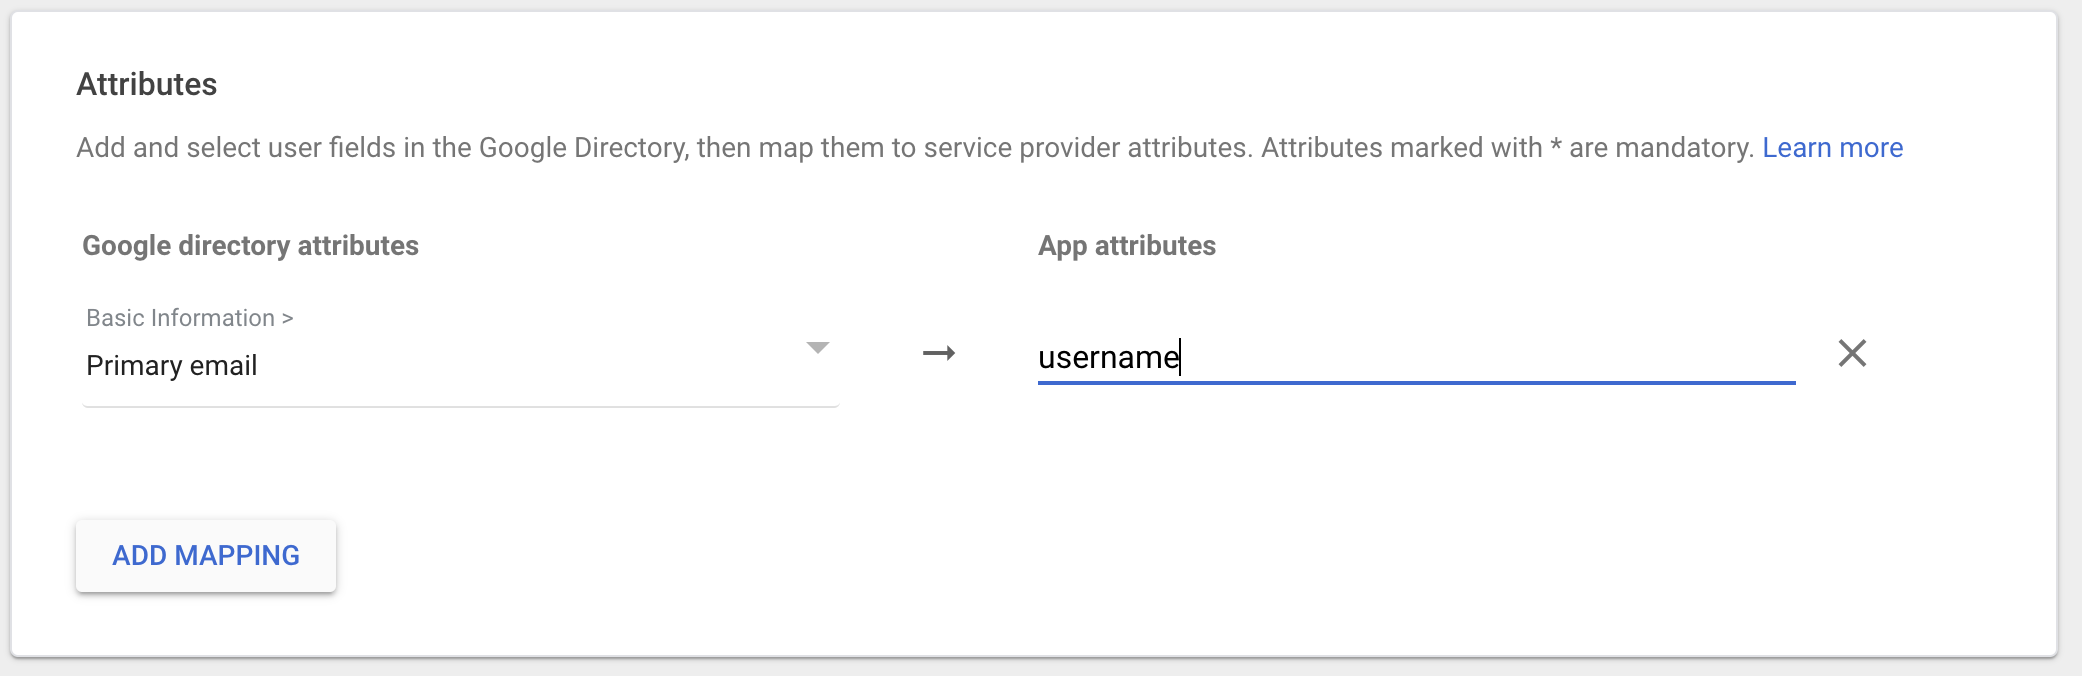
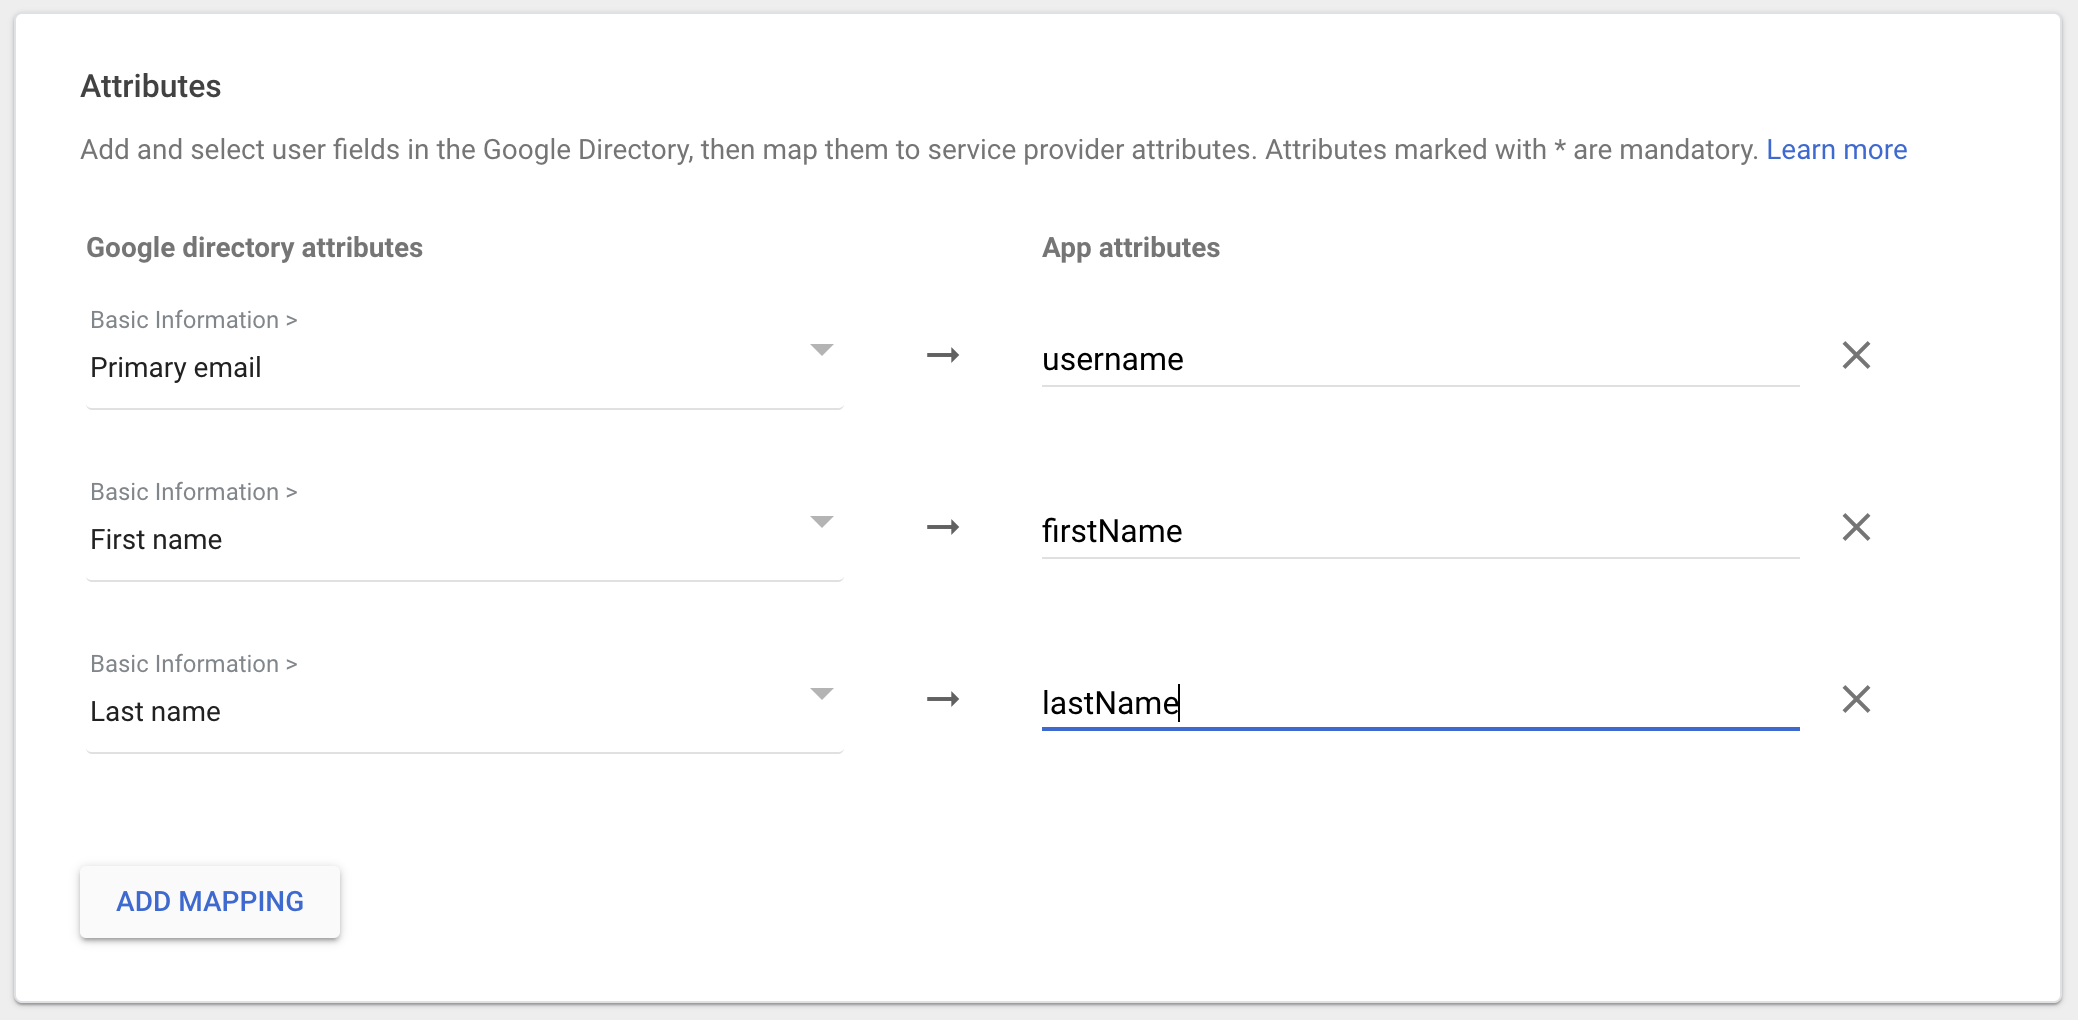
Click “ADD MAPPING”
Here we configure the claims requested by Cyber Guru after the authentication.
Username
NOTE: For this field Cyber Guru strongly suggests to use a value that will not change in the future. So, if there is a chance the “Primary email” would change in the future, use a different field like “Employee ID” or similar
Click "ADD MAPPING"
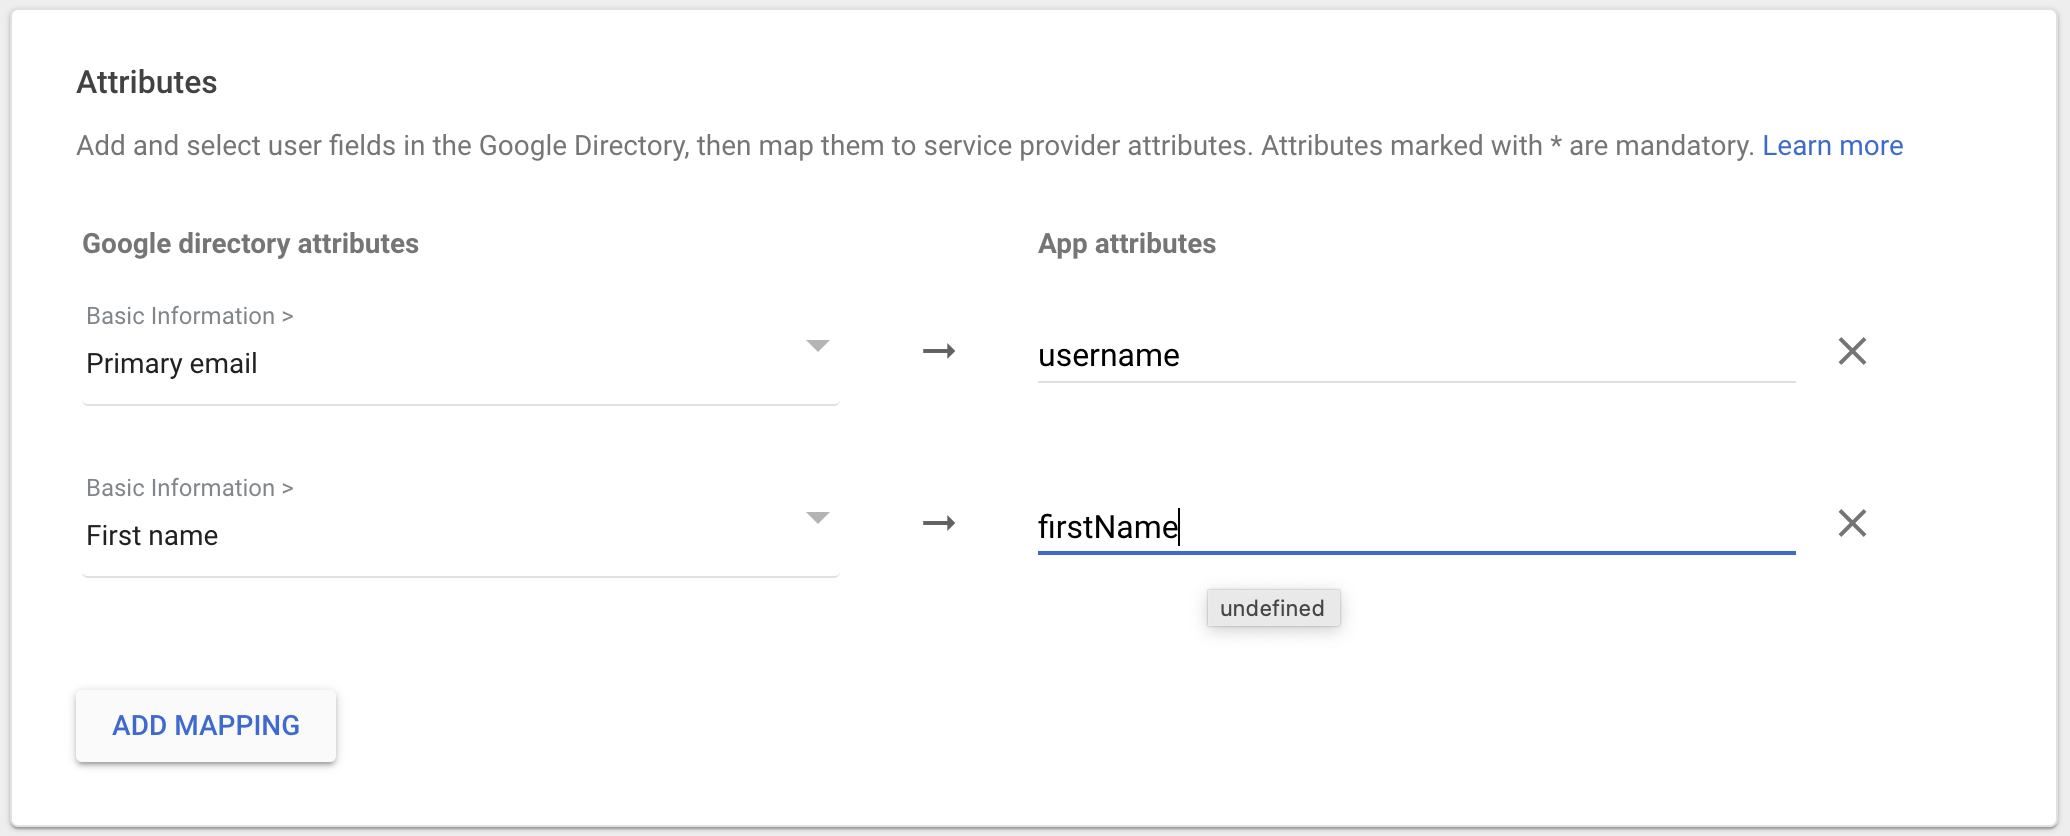
Click "ADD MAPPING"
Click "ADD MAPPING"
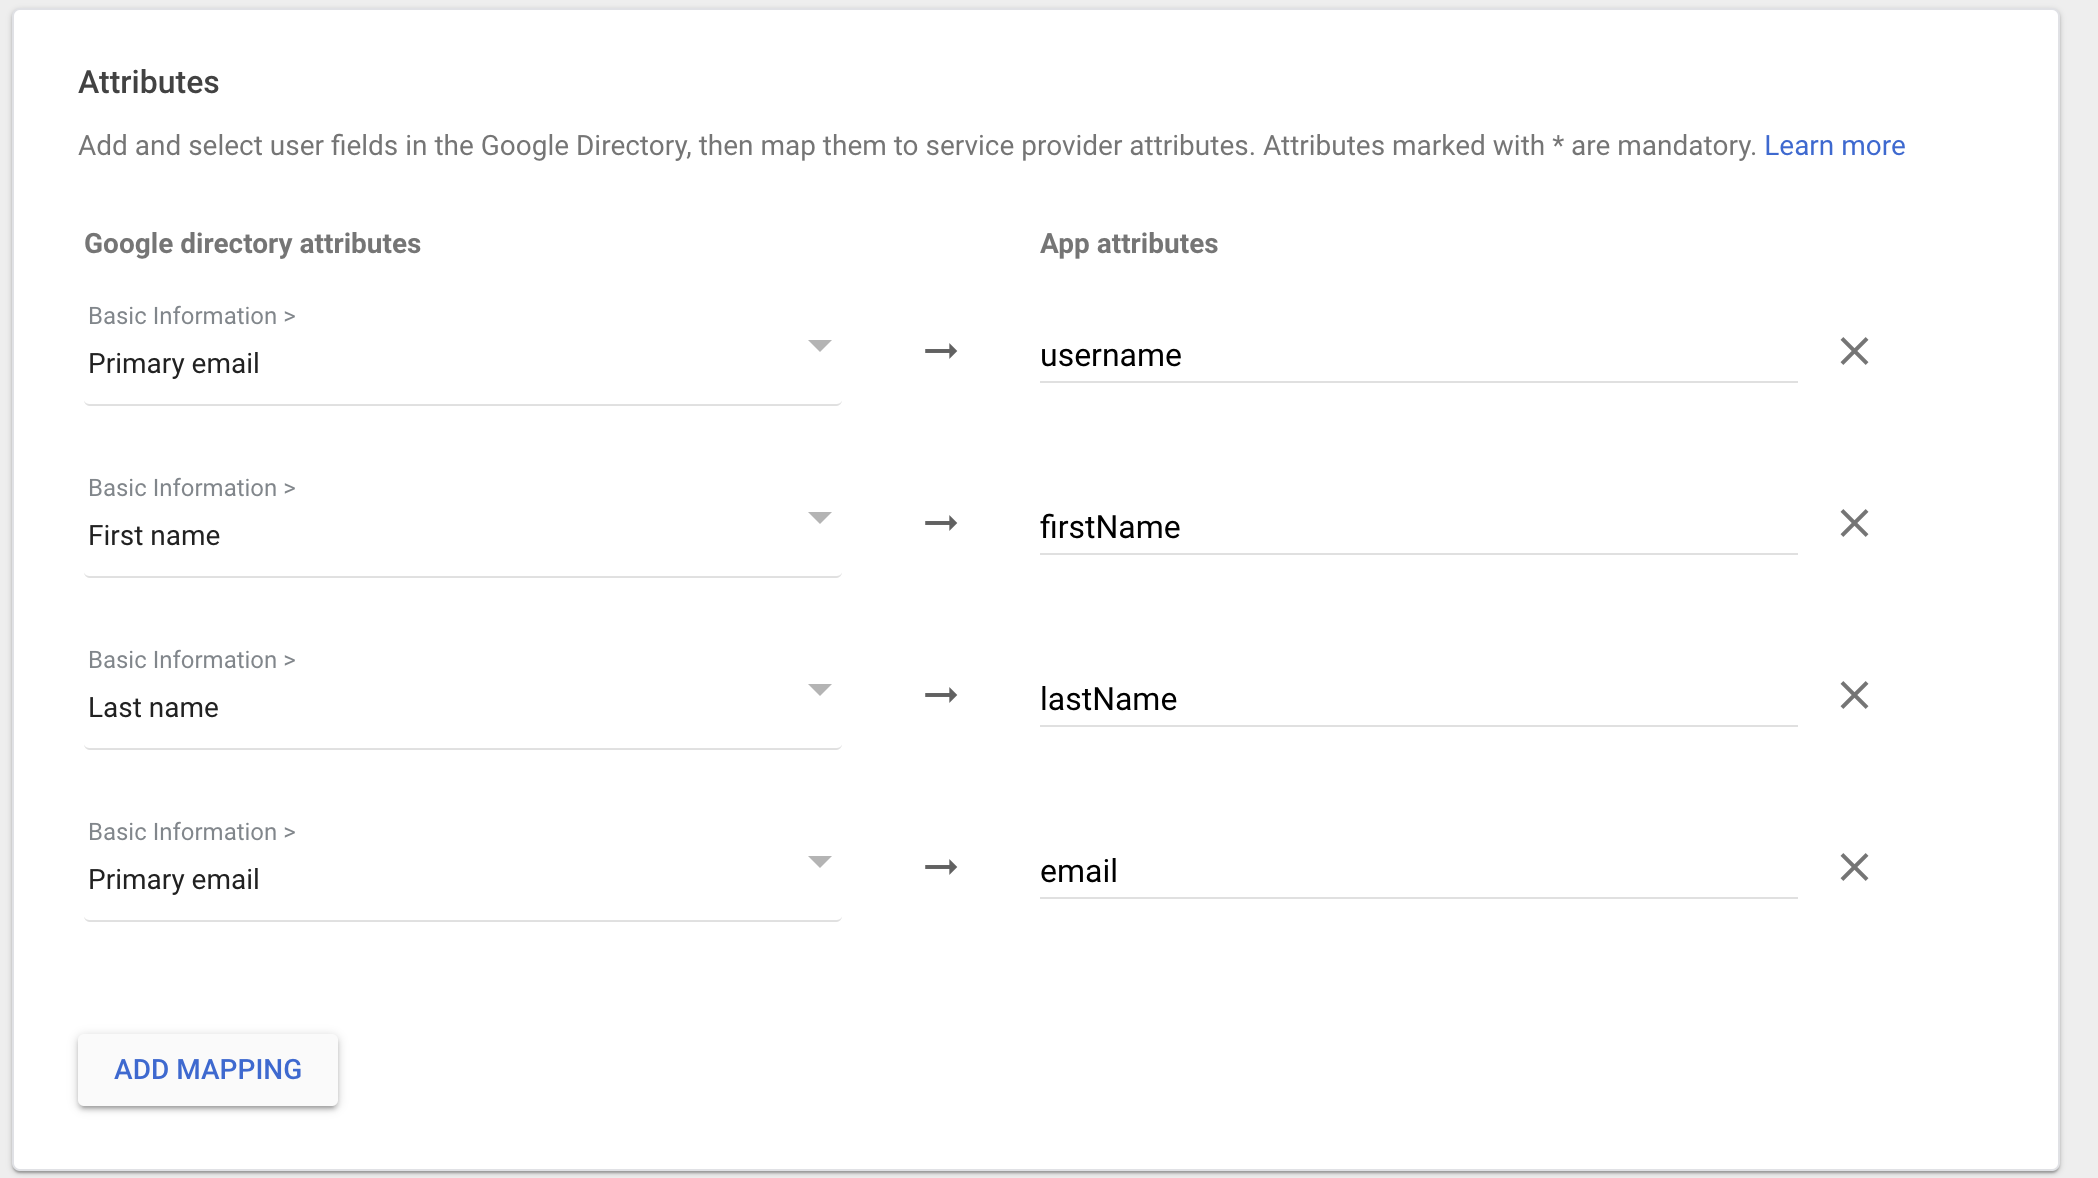
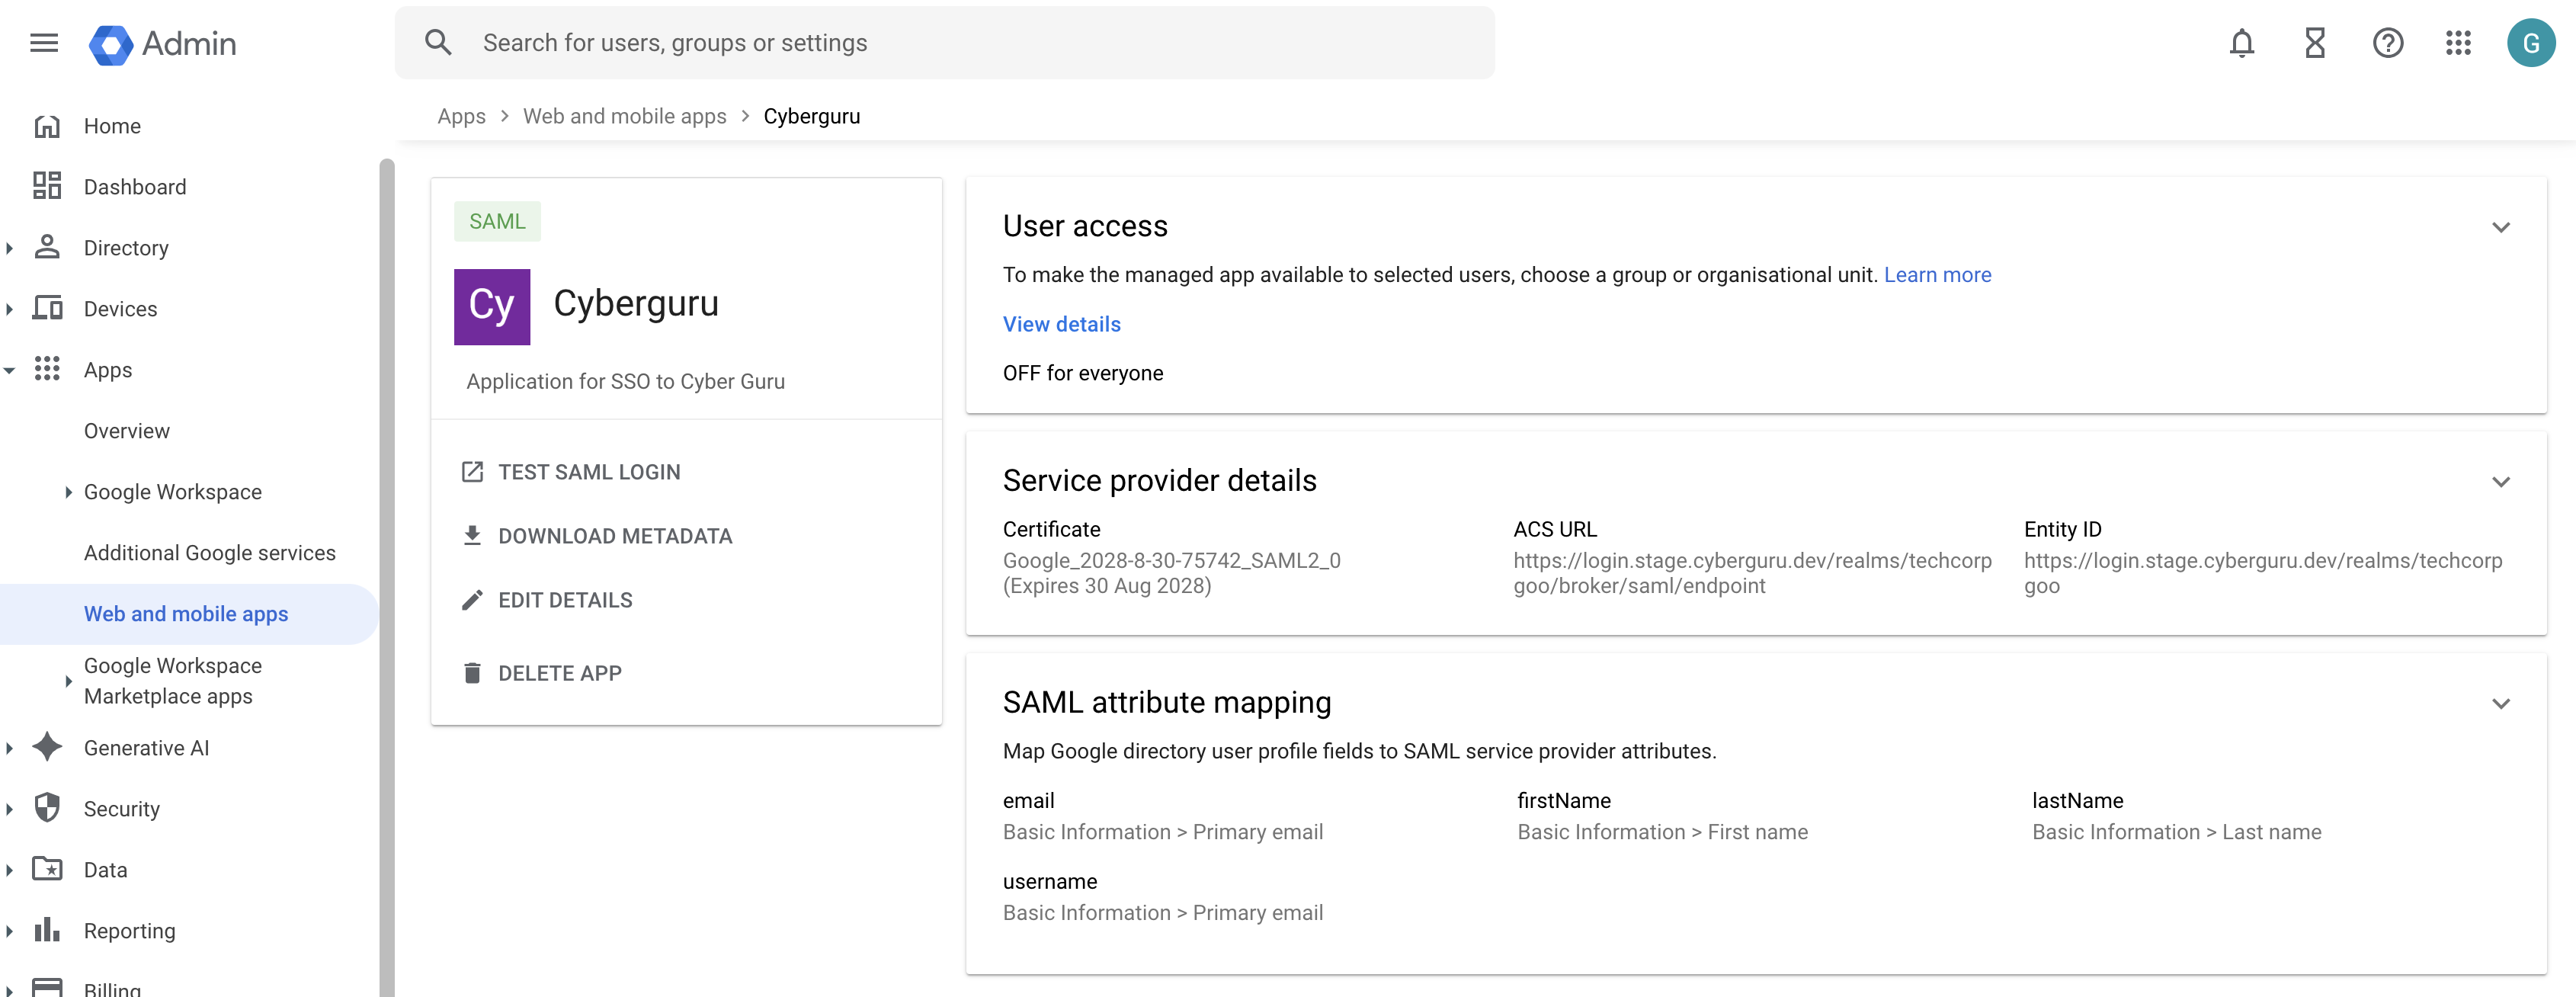
Click “Finish” at the end of the page. The app Is created and this is what you should see:
3.4. Enable the App for Your Users
In the overview of the just created app locate the User Access panel
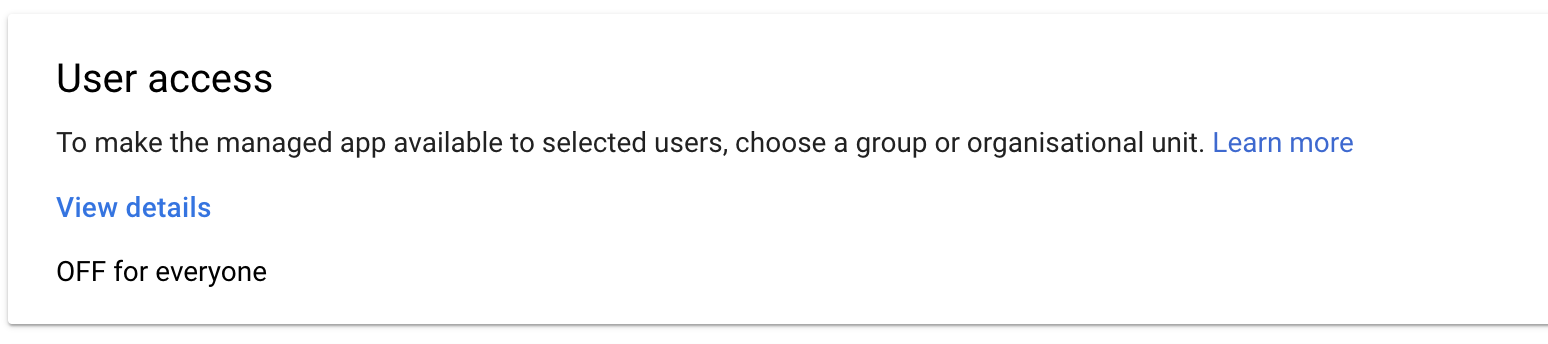
Click on "OFF from everyone
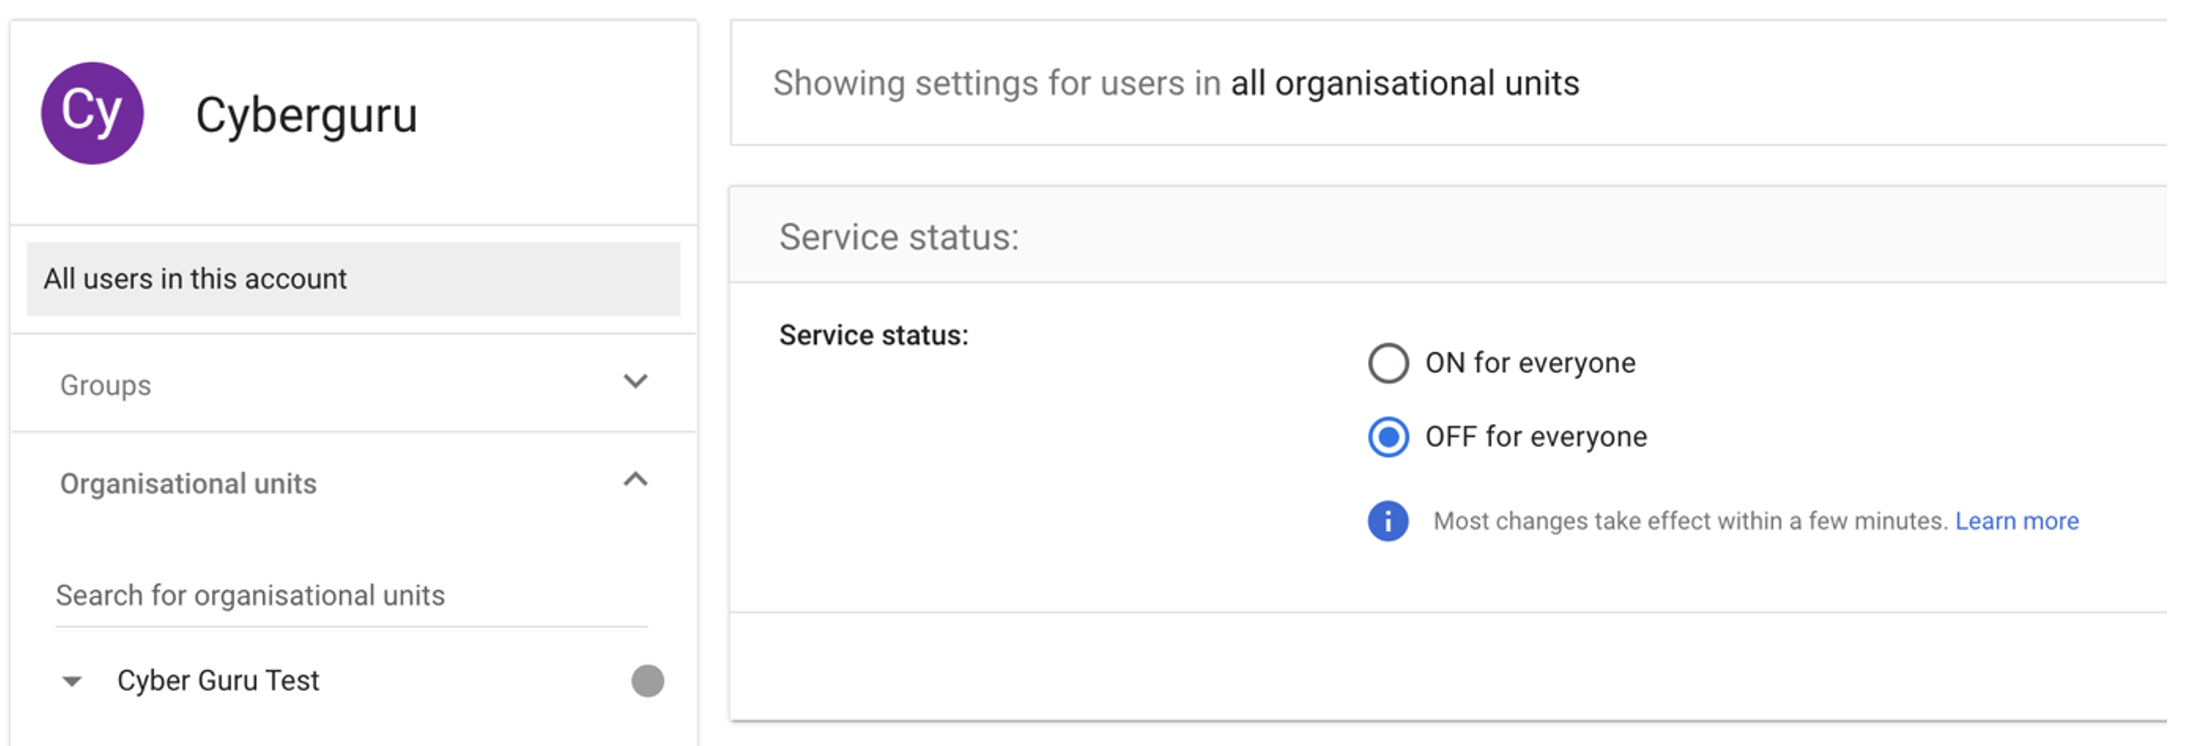
Click on “Groups” and select the group containing the users authorised to use the app.
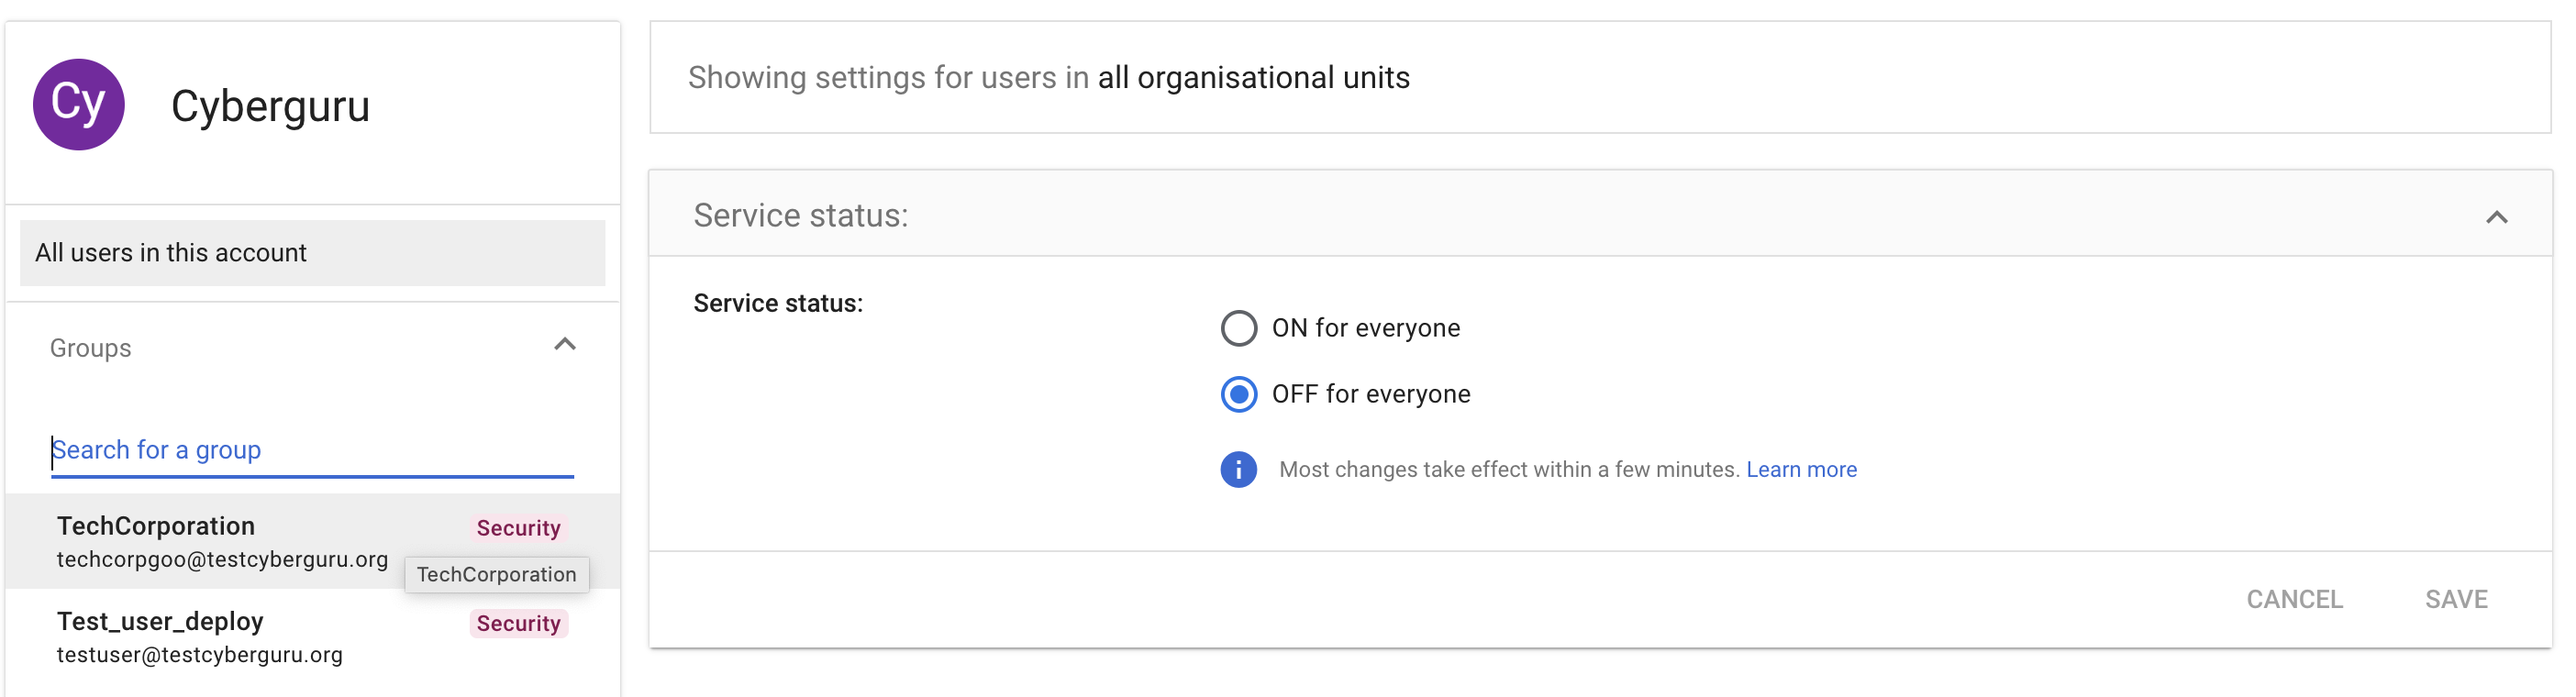
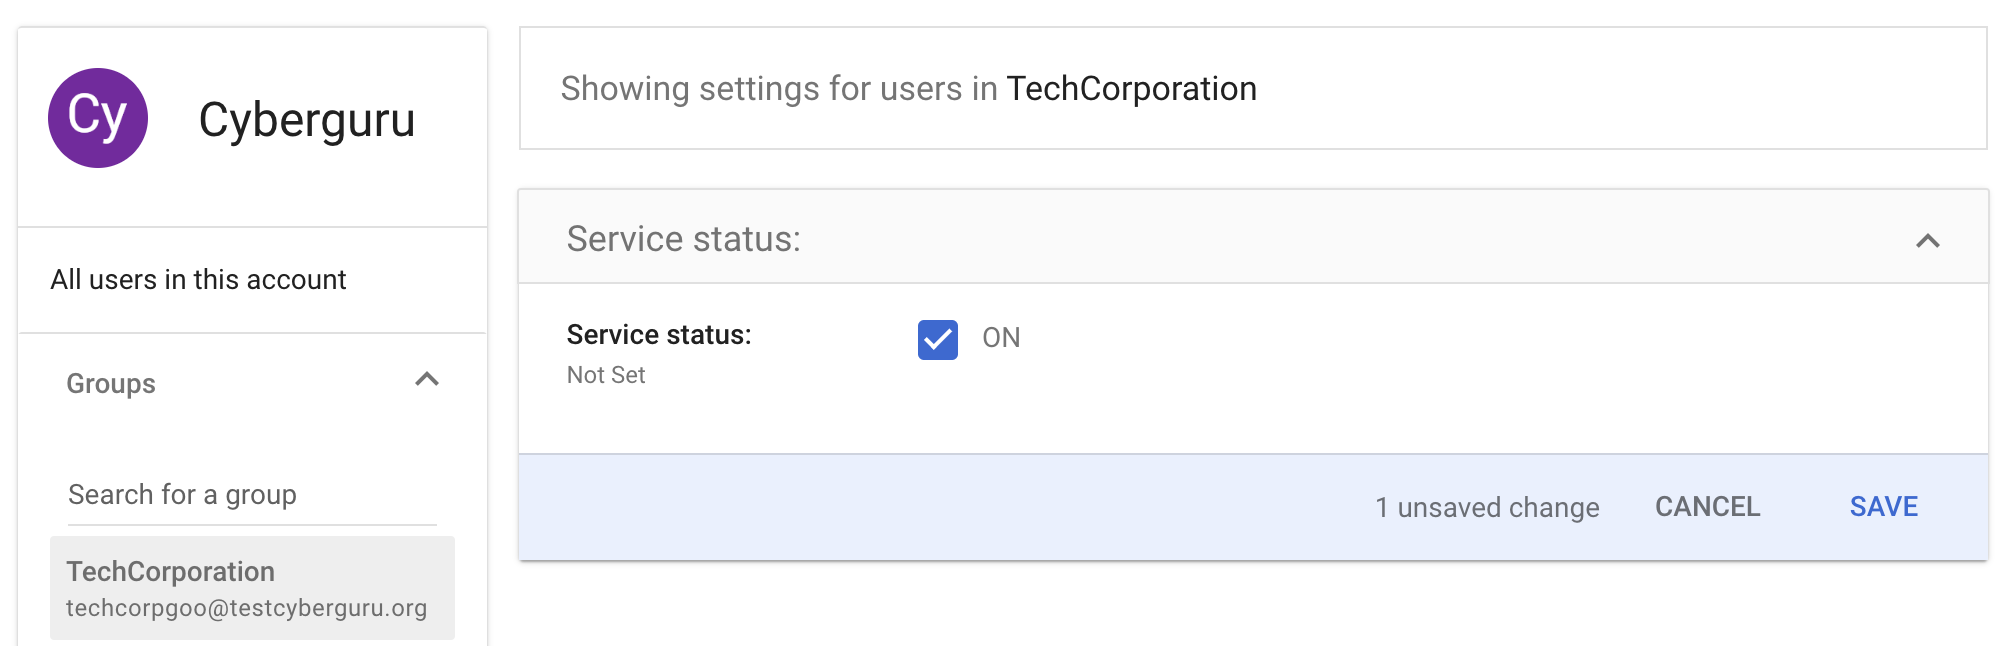
In this configuration example we select TechCorporation. Please select the group of your organization, enable the Service Status and Click “Save”
3.5. Test the SSO Login
Before rolling it out to your entire organization, let’s test the setup:
Open an incognito or private browser window.
Navigate to the login page : https://<subdomain>.platform.cyberguru.eu
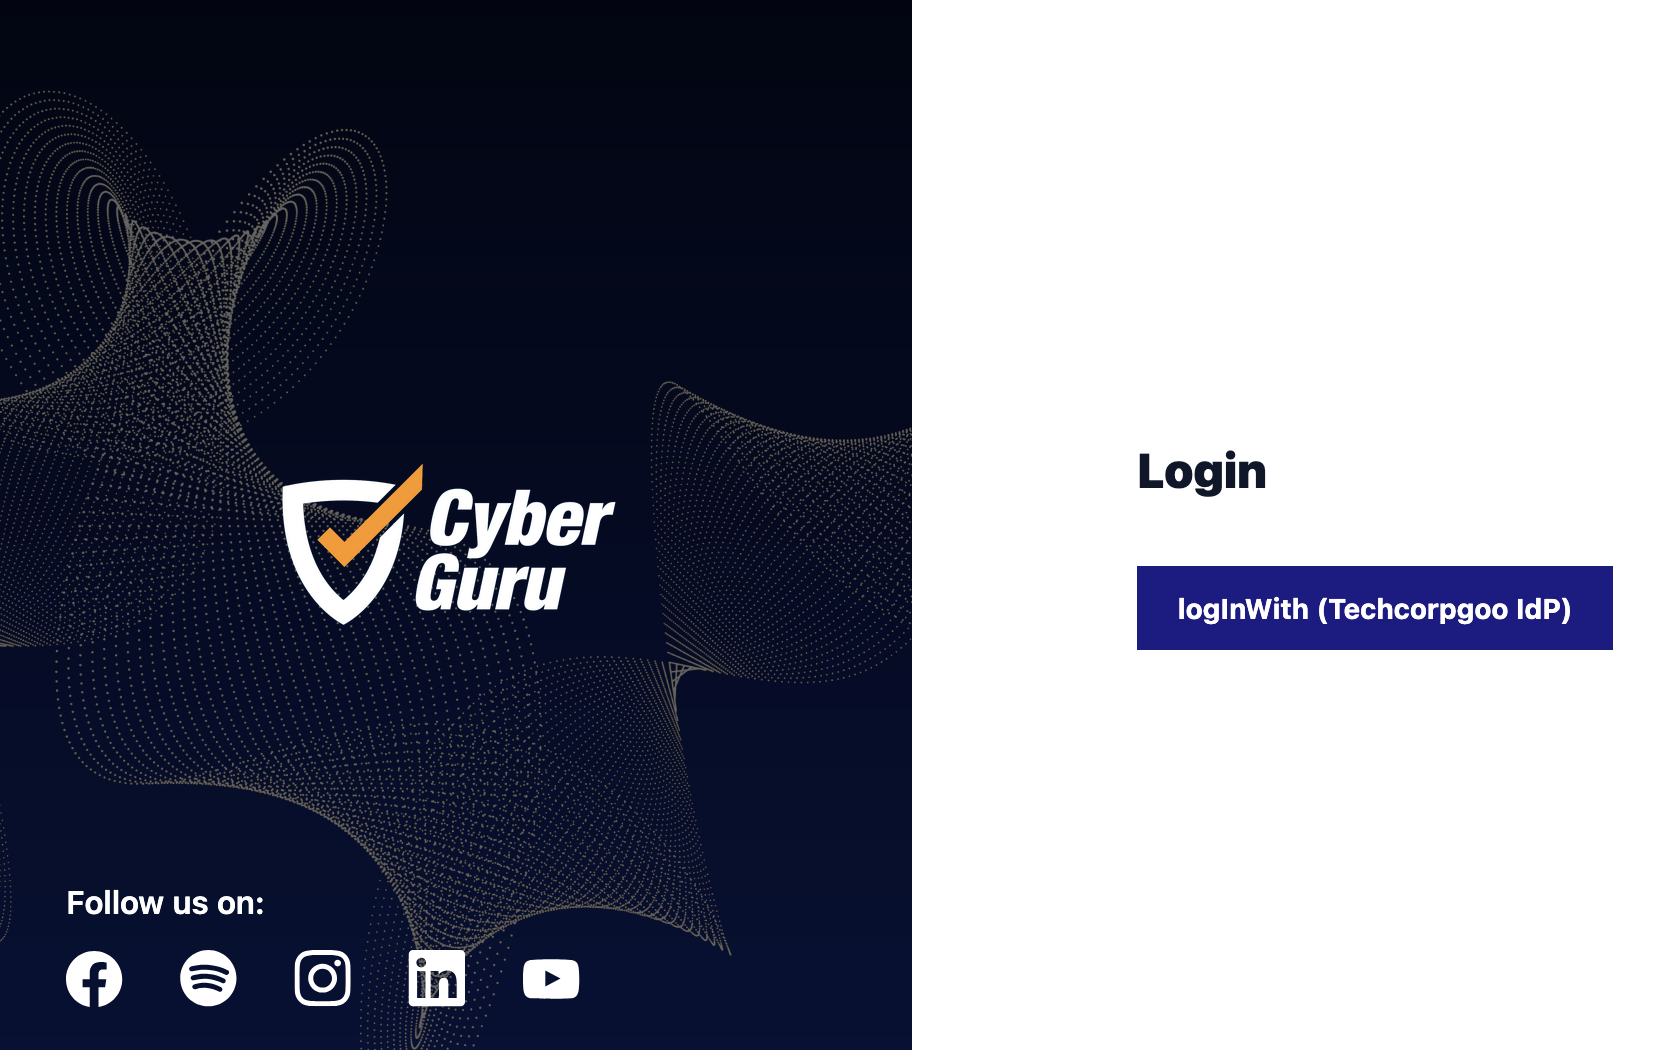
Click on the button “LogInWith (Techcorpgoo IdP)”
NOTE: Techcorpgoo is the company used for testing the present guide.
The login page of your Google workspace will pop up :
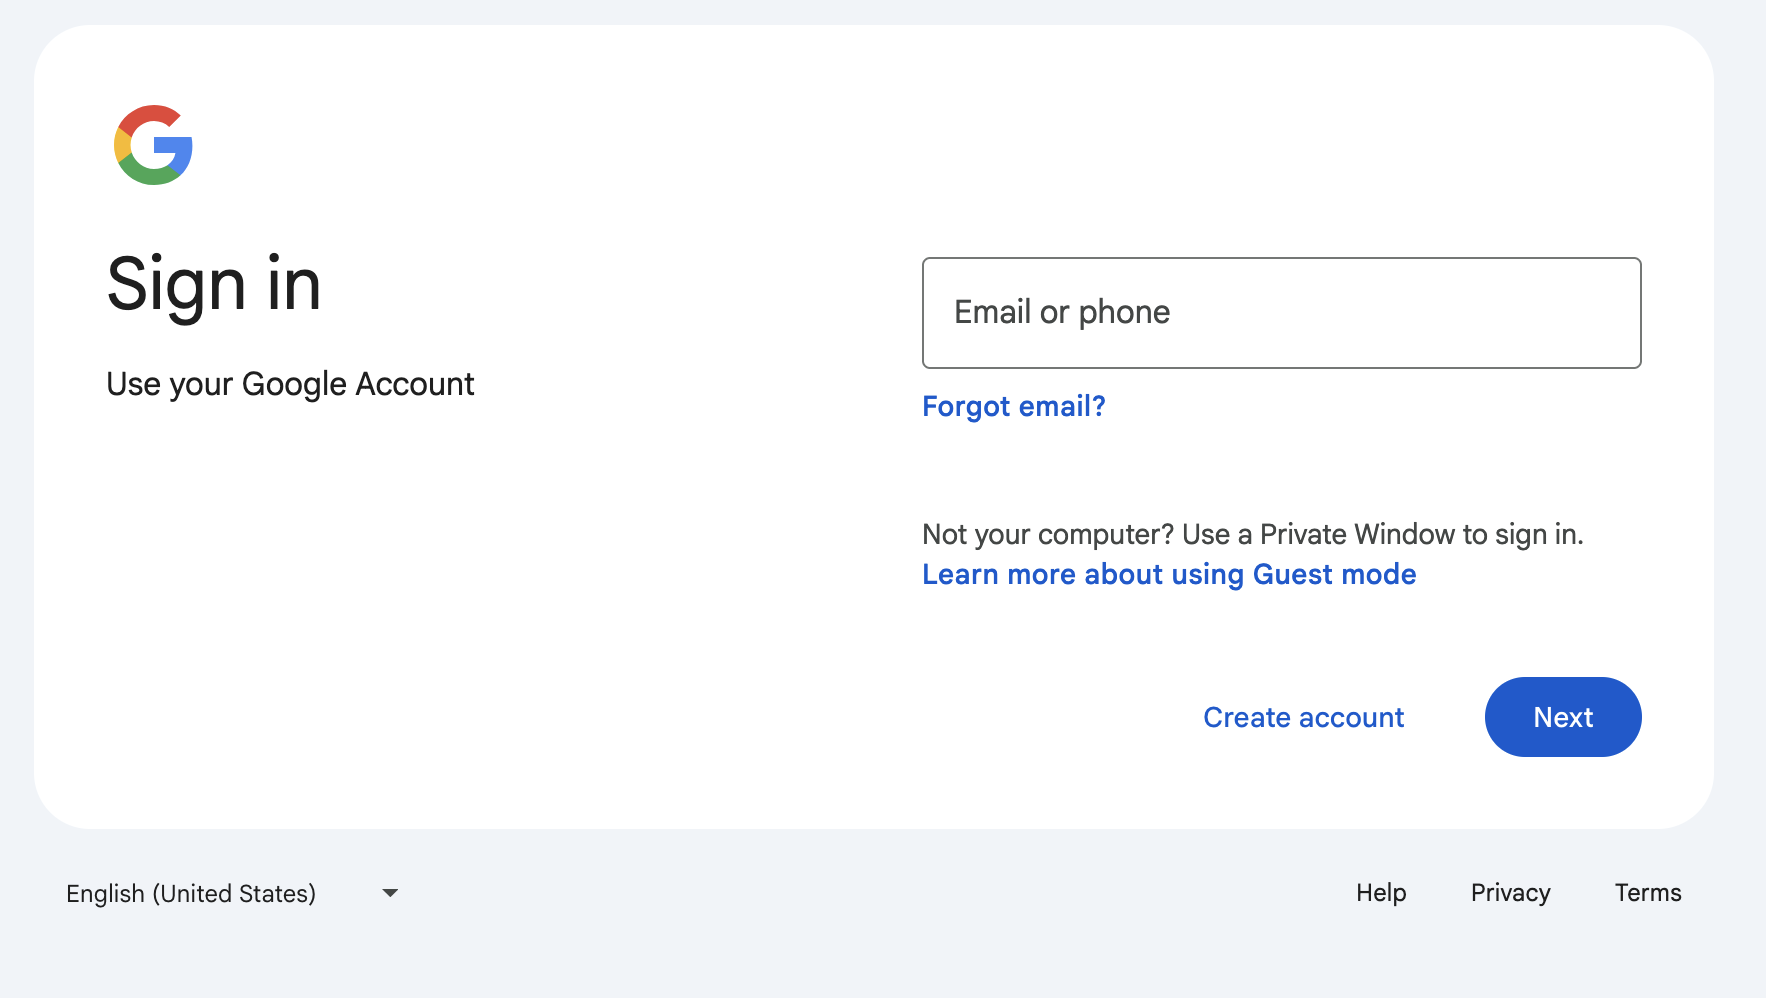
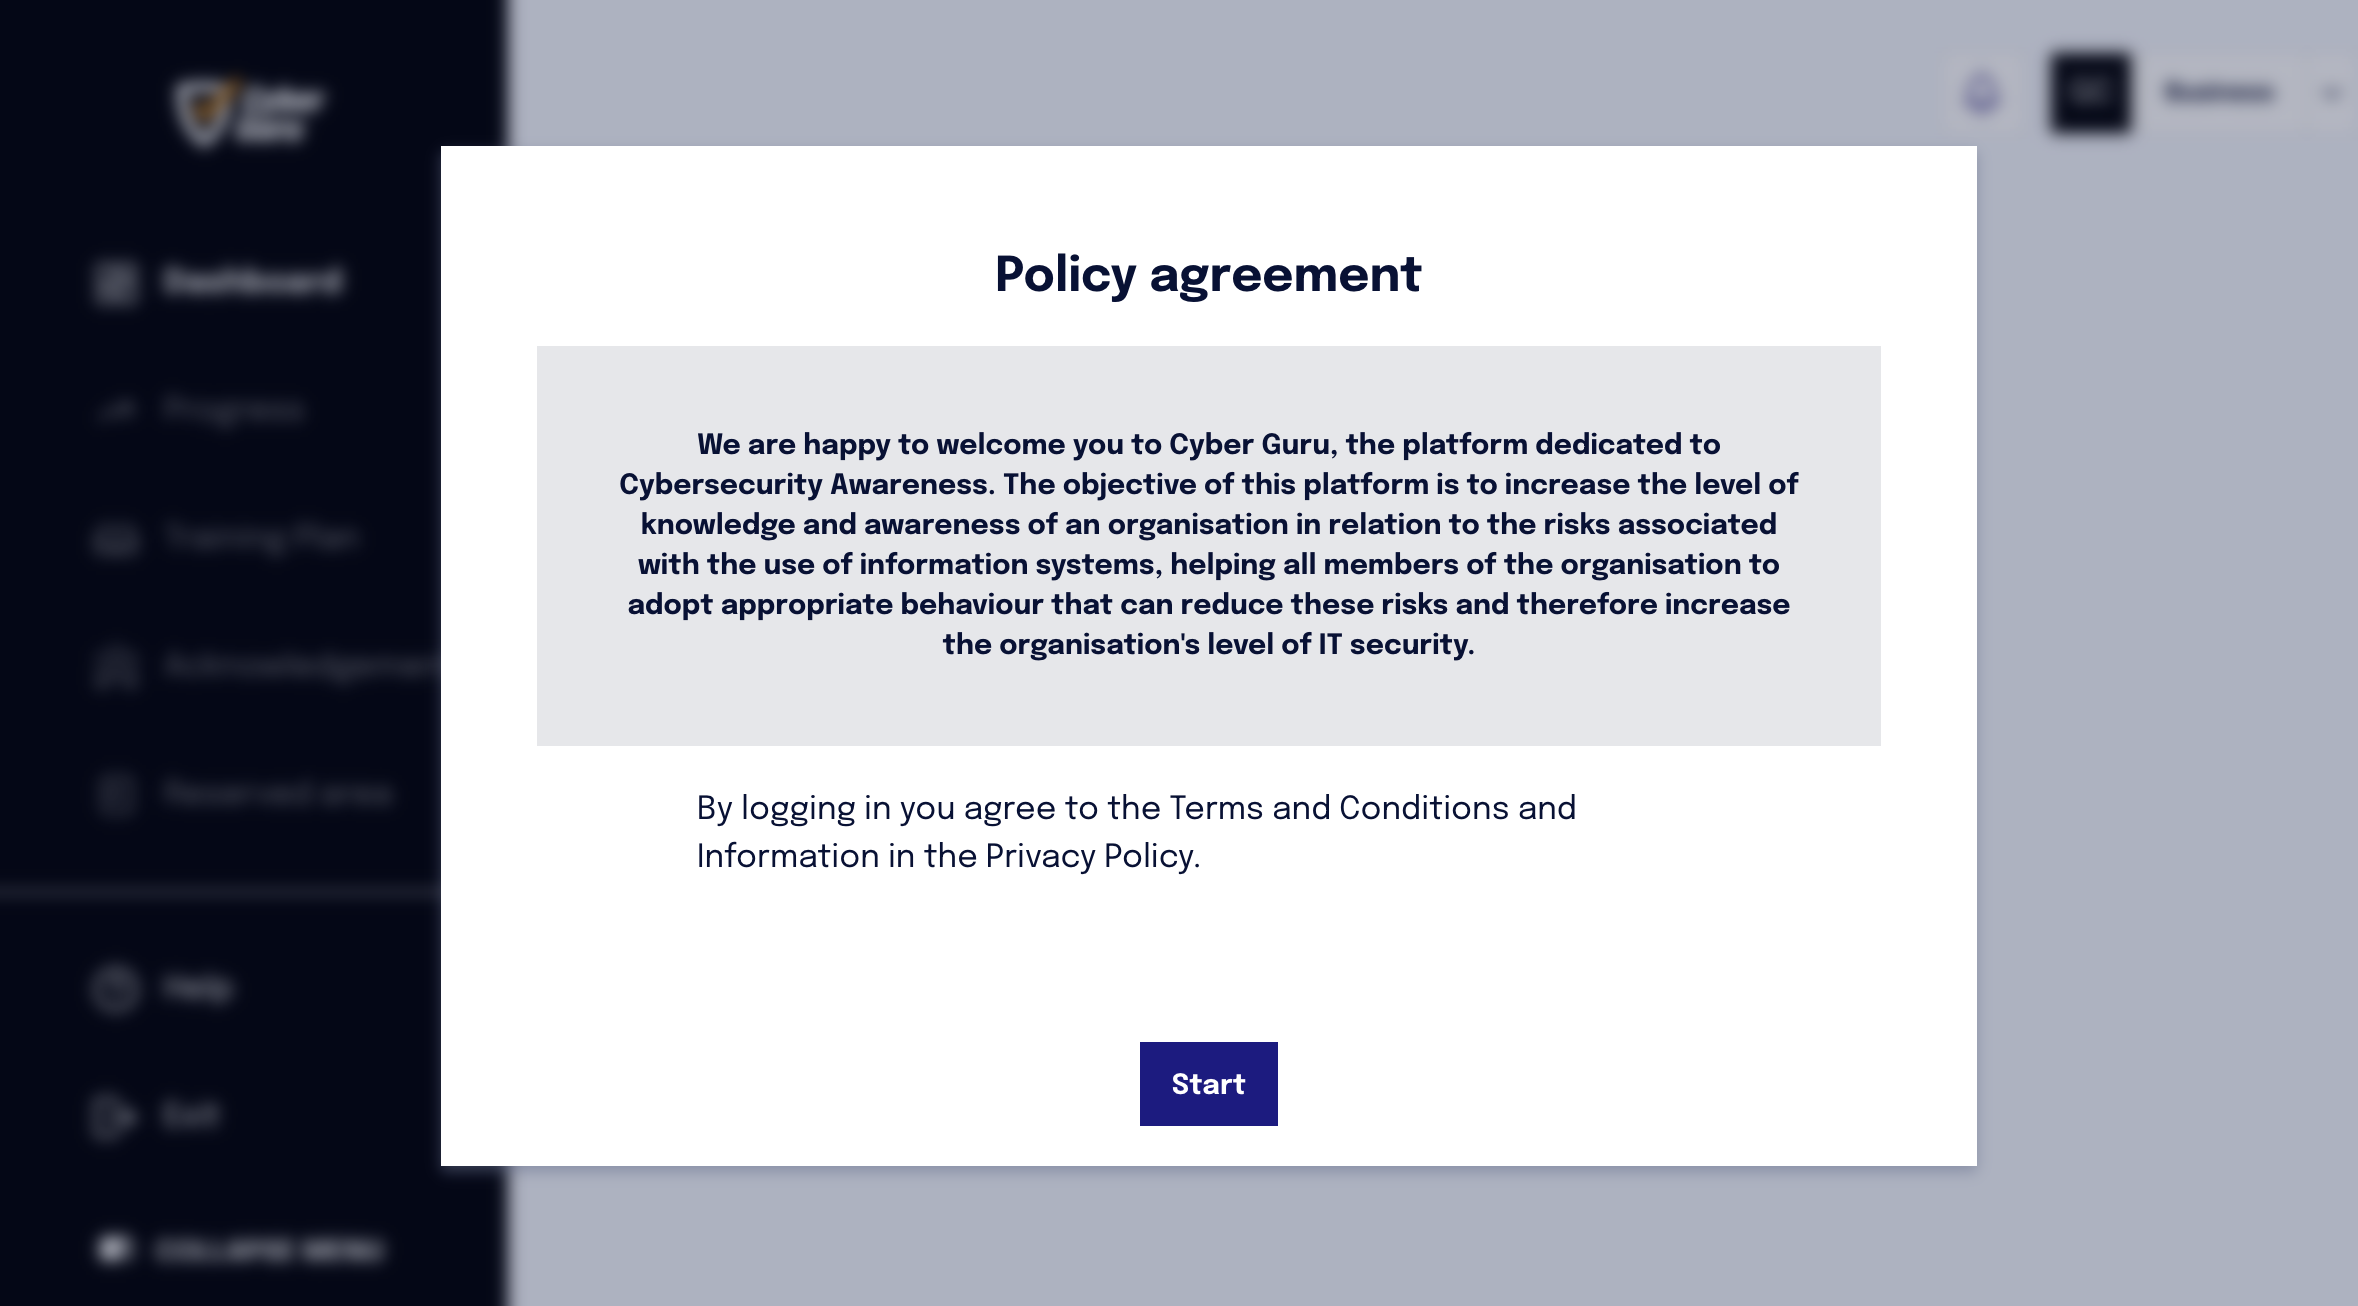
Sign in using your Google Workspace credentials and then be redirected back to the service. If everyting works fine you should receive the welcome page of Cyber Guru.
4. Troubleshooting and Tips
If you receive an error page when logging in, double-check that the SSO URL and other details entered in the service provider’s configuration match what you downloaded from Google.
Remember that DNS or certificate propagation might take a few minutes. If changes don’t appear immediately, wait a bit and retry.
Keep the downloaded certificate or metadata file in a safe place. You may need to update it if changes occur in your Google Workspace configuration.
Using a SAML tracer, check the values of the claims in the SAML response. For example :
<saml2:AttributeStatement>

<saml2:Attribute Name="username"> <saml2:AttributeValue xmlns:xsd="http://www.w3.org/2001/XMLSchema" xmlns:xsi="http://www.w3.org/2001/XMLSchema-instance" xsi:type="xsd:anyType" >gianmarco.cagnotto@testcyberguru.org</saml2:AttributeValue> </saml2:Attribute>

<saml2:Attribute Name="firstName"> <saml2:AttributeValue xmlns:xsd="http://www.w3.org/2001/XMLSchema" xmlns:xsi="http://www.w3.org/2001/XMLSchema-instance" xsi:type="xsd:anyType" >Gianmarco</saml2:AttributeValue> </saml2:Attribute>

<saml2:Attribute Name="lastName"> <saml2:AttributeValue xmlns:xsd="http://www.w3.org/2001/XMLSchema" xmlns:xsi="http://www.w3.org/2001/XMLSchema-instance" xsi:type="xsd:anyType" >Cagnotto</saml2:AttributeValue> </saml2:Attribute>

<saml2:Attribute Name="email"> <saml2:AttributeValue xmlns:xsd="http://www.w3.org/2001/XMLSchema" xmlns:xsi="http://www.w3.org/2001/XMLSchema-instance" xsi:type="xsd:anyType" >gianmarco.cagnotto@testcyberguru.org</saml2:AttributeValue> </saml2:Attribute> </saml2:AttributeStatement>
5. Getting More Help
Google has a dedicated Help Center at https://support.google.com/ for additional articles and troubleshooting tips.
If you’re ever unsure, ask your organization’s technical support or Google Workspace partner for assistance.