SAML Configuration Microsoft EntraID
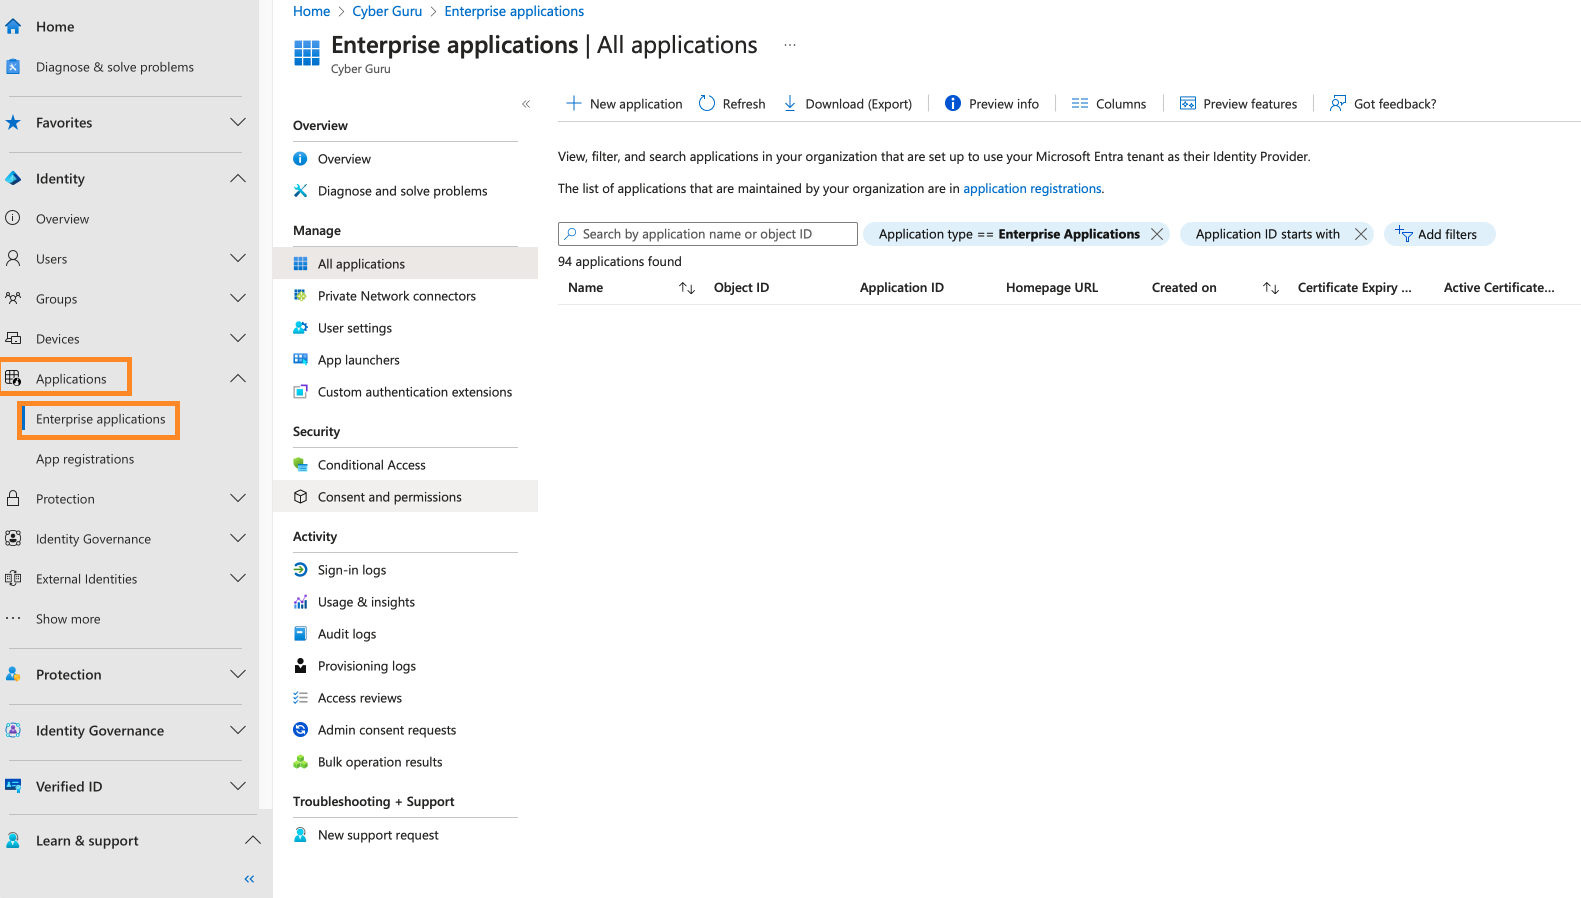
a. Access https://entra.microsoft.com/ and select “Applications” from the left menu, then “Enterprise Applications”.
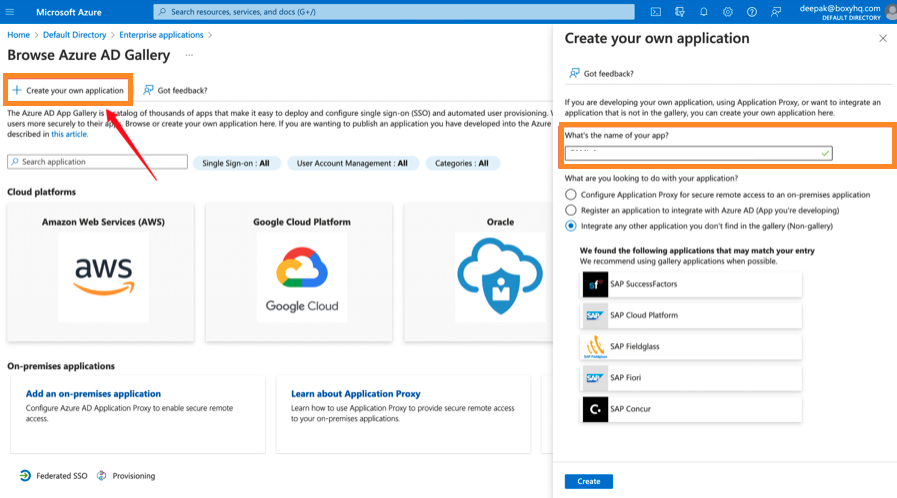
b. Create a new custom application named “Cyber Guru”, paying particular attention to selecting the option “Integrate an application not in the gallery”.
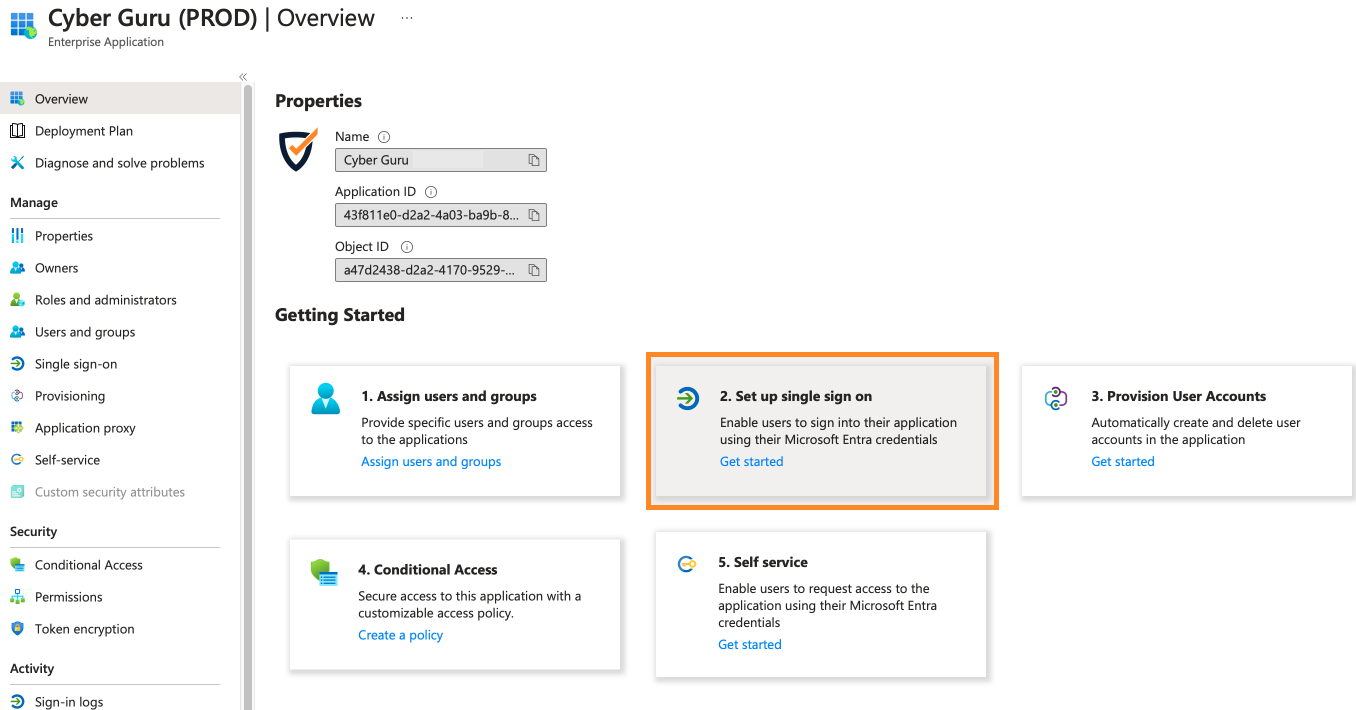
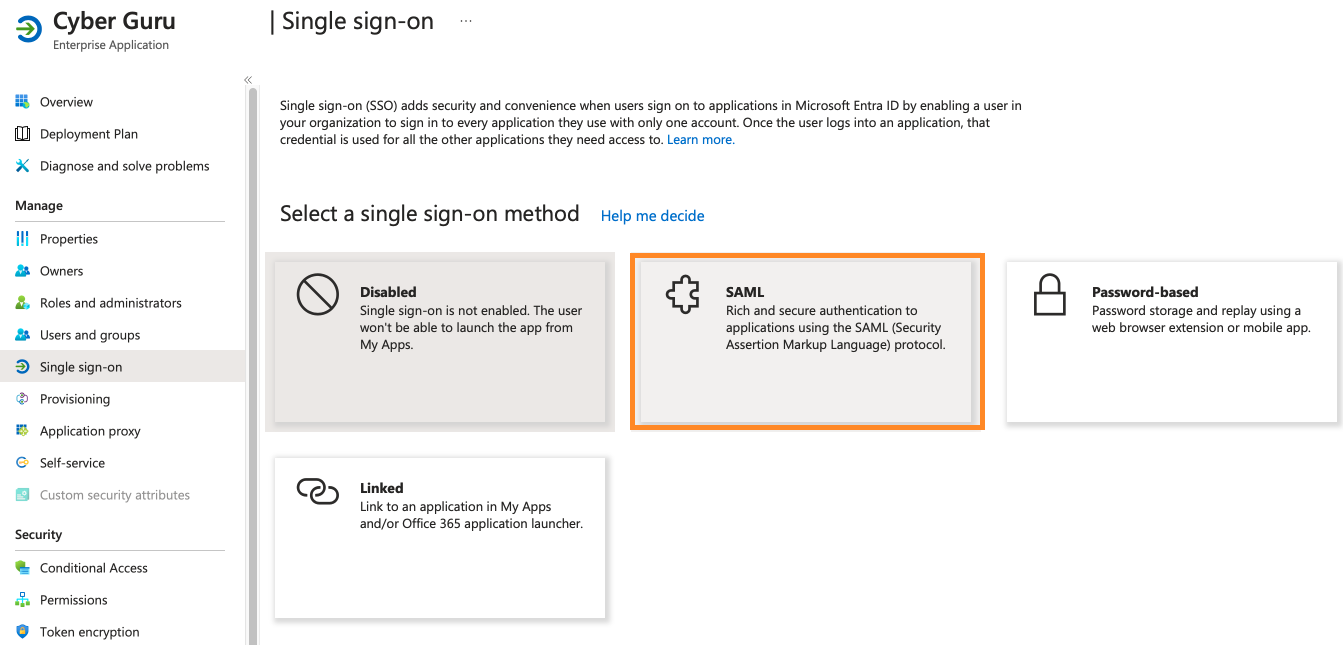
c. Select “2. Set up Single Sign-On”
d. Select SAML as the single sign-on method
e. Scroll down to find the box “SAML Certificates”, copy the “App federation metadata URL” and send it to Cyberguru.
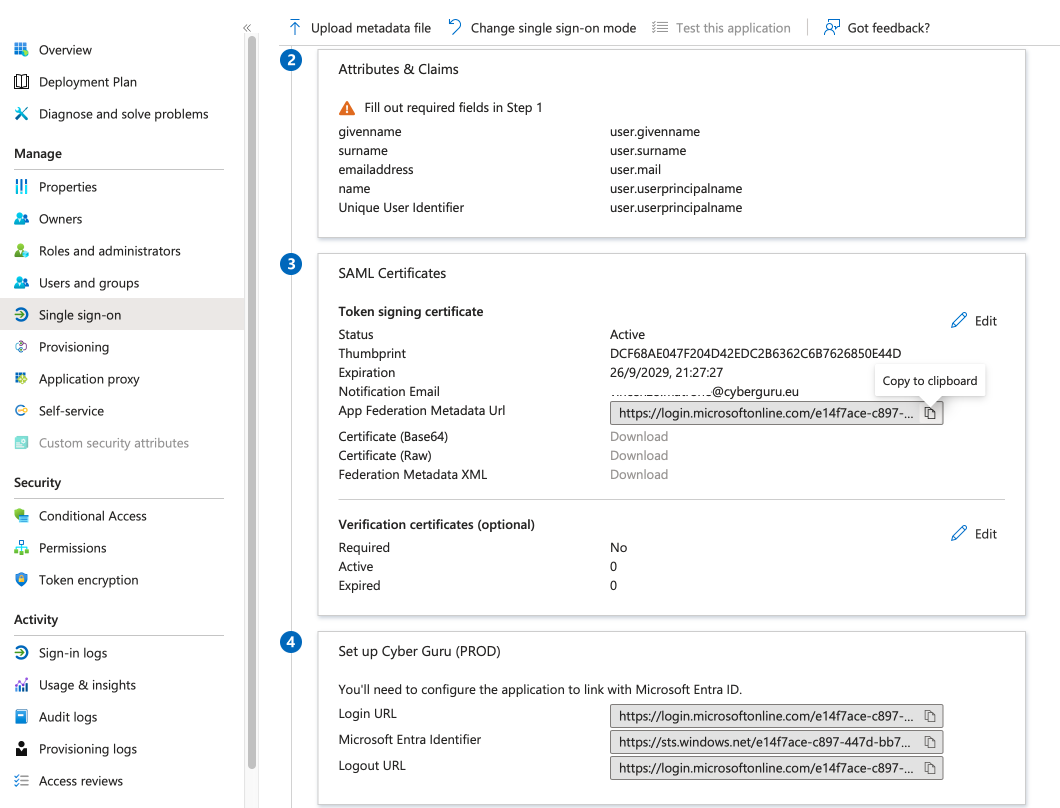
g. Select “Edit” in the “Attributes and Claims” box and enter all attributes as defined in the dedicated document.
Example of an attribute:
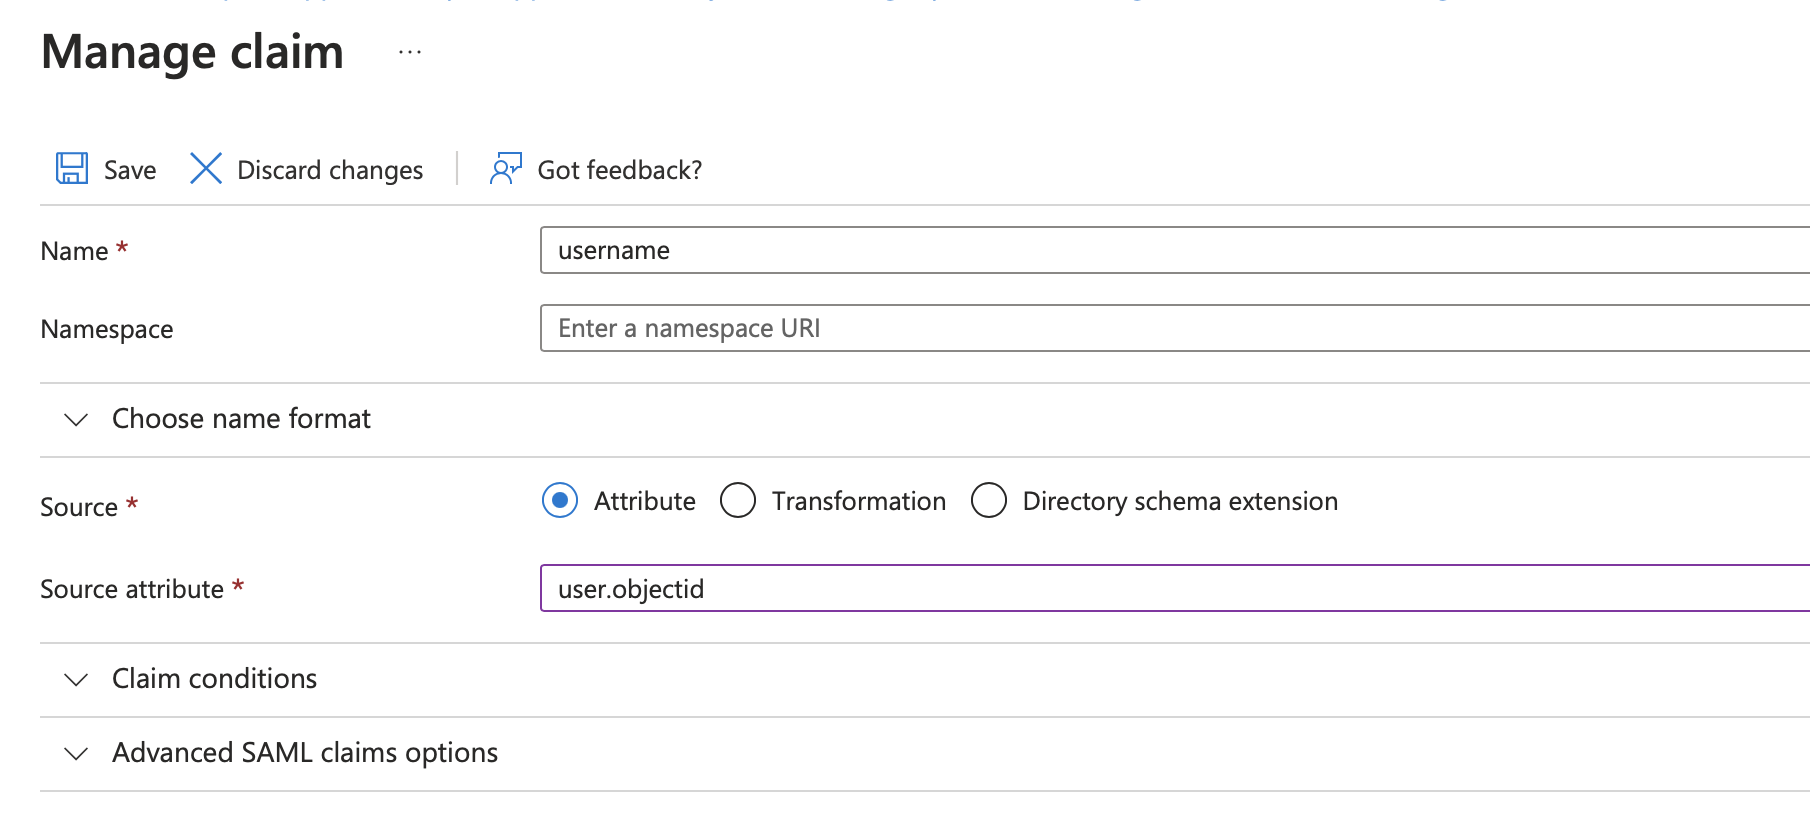
Enter the other attributes in the same way. In the end, the following configuration should result:

Completion of SAML Configuration in Azure
This configuration is performed jointly to verify the Azure configuration and complete it with the metadata URL of the Cyber Guru Service Provider
a. Cyber Guru communicates the Service Provider URL to the client
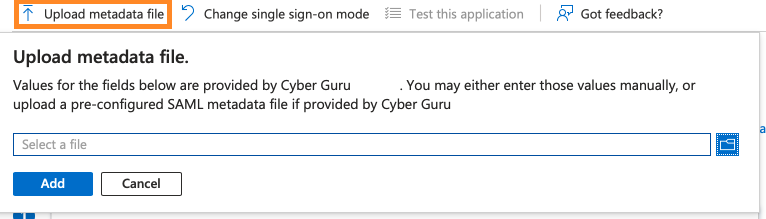
b. Open the SP URL provided by Cyber Guru in a browser and save it in a file with the .XML extension.
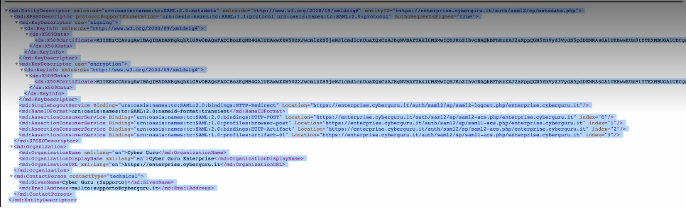
Return to the “SAML Certificates” configuration, select “Upload metadata file” and provide the previously saved file.